Routing and Navigation: Tools for Confidence and Independence on the Bicycle

Originally published for Get Rad Be Radical for WTF Bikexplorers and Ride with GPS in 2020. Photos by Sarah Swallow, Adam Gaubert, and Tom Swallow.
I recently shared my tips and tricks for routing and navigation in the new Get Rad Be Radical Publication by WTF Bikexplorers. GRBR changes the way women, trans, femme, and non-binary people are depicted and represented in the bicycle adventure community. The publication creates a platform where everyone can see and experience what it means to be a FTWN-B person who shreds, featuring 20 contributor stories focused on themes discussed at the past WTF BK Summits from 2018-2019. I taught a widely attended Routing and Navigation Clinic at both summits and her piece Routing and Navigation: Tools for Confidence and Independence on the Bicycle is a summarization of the themes and strategies taught in my clinic. Order your copy of the Get Rad Be Radical Publication to read more educational and inspirational stories from the WTF BX community.
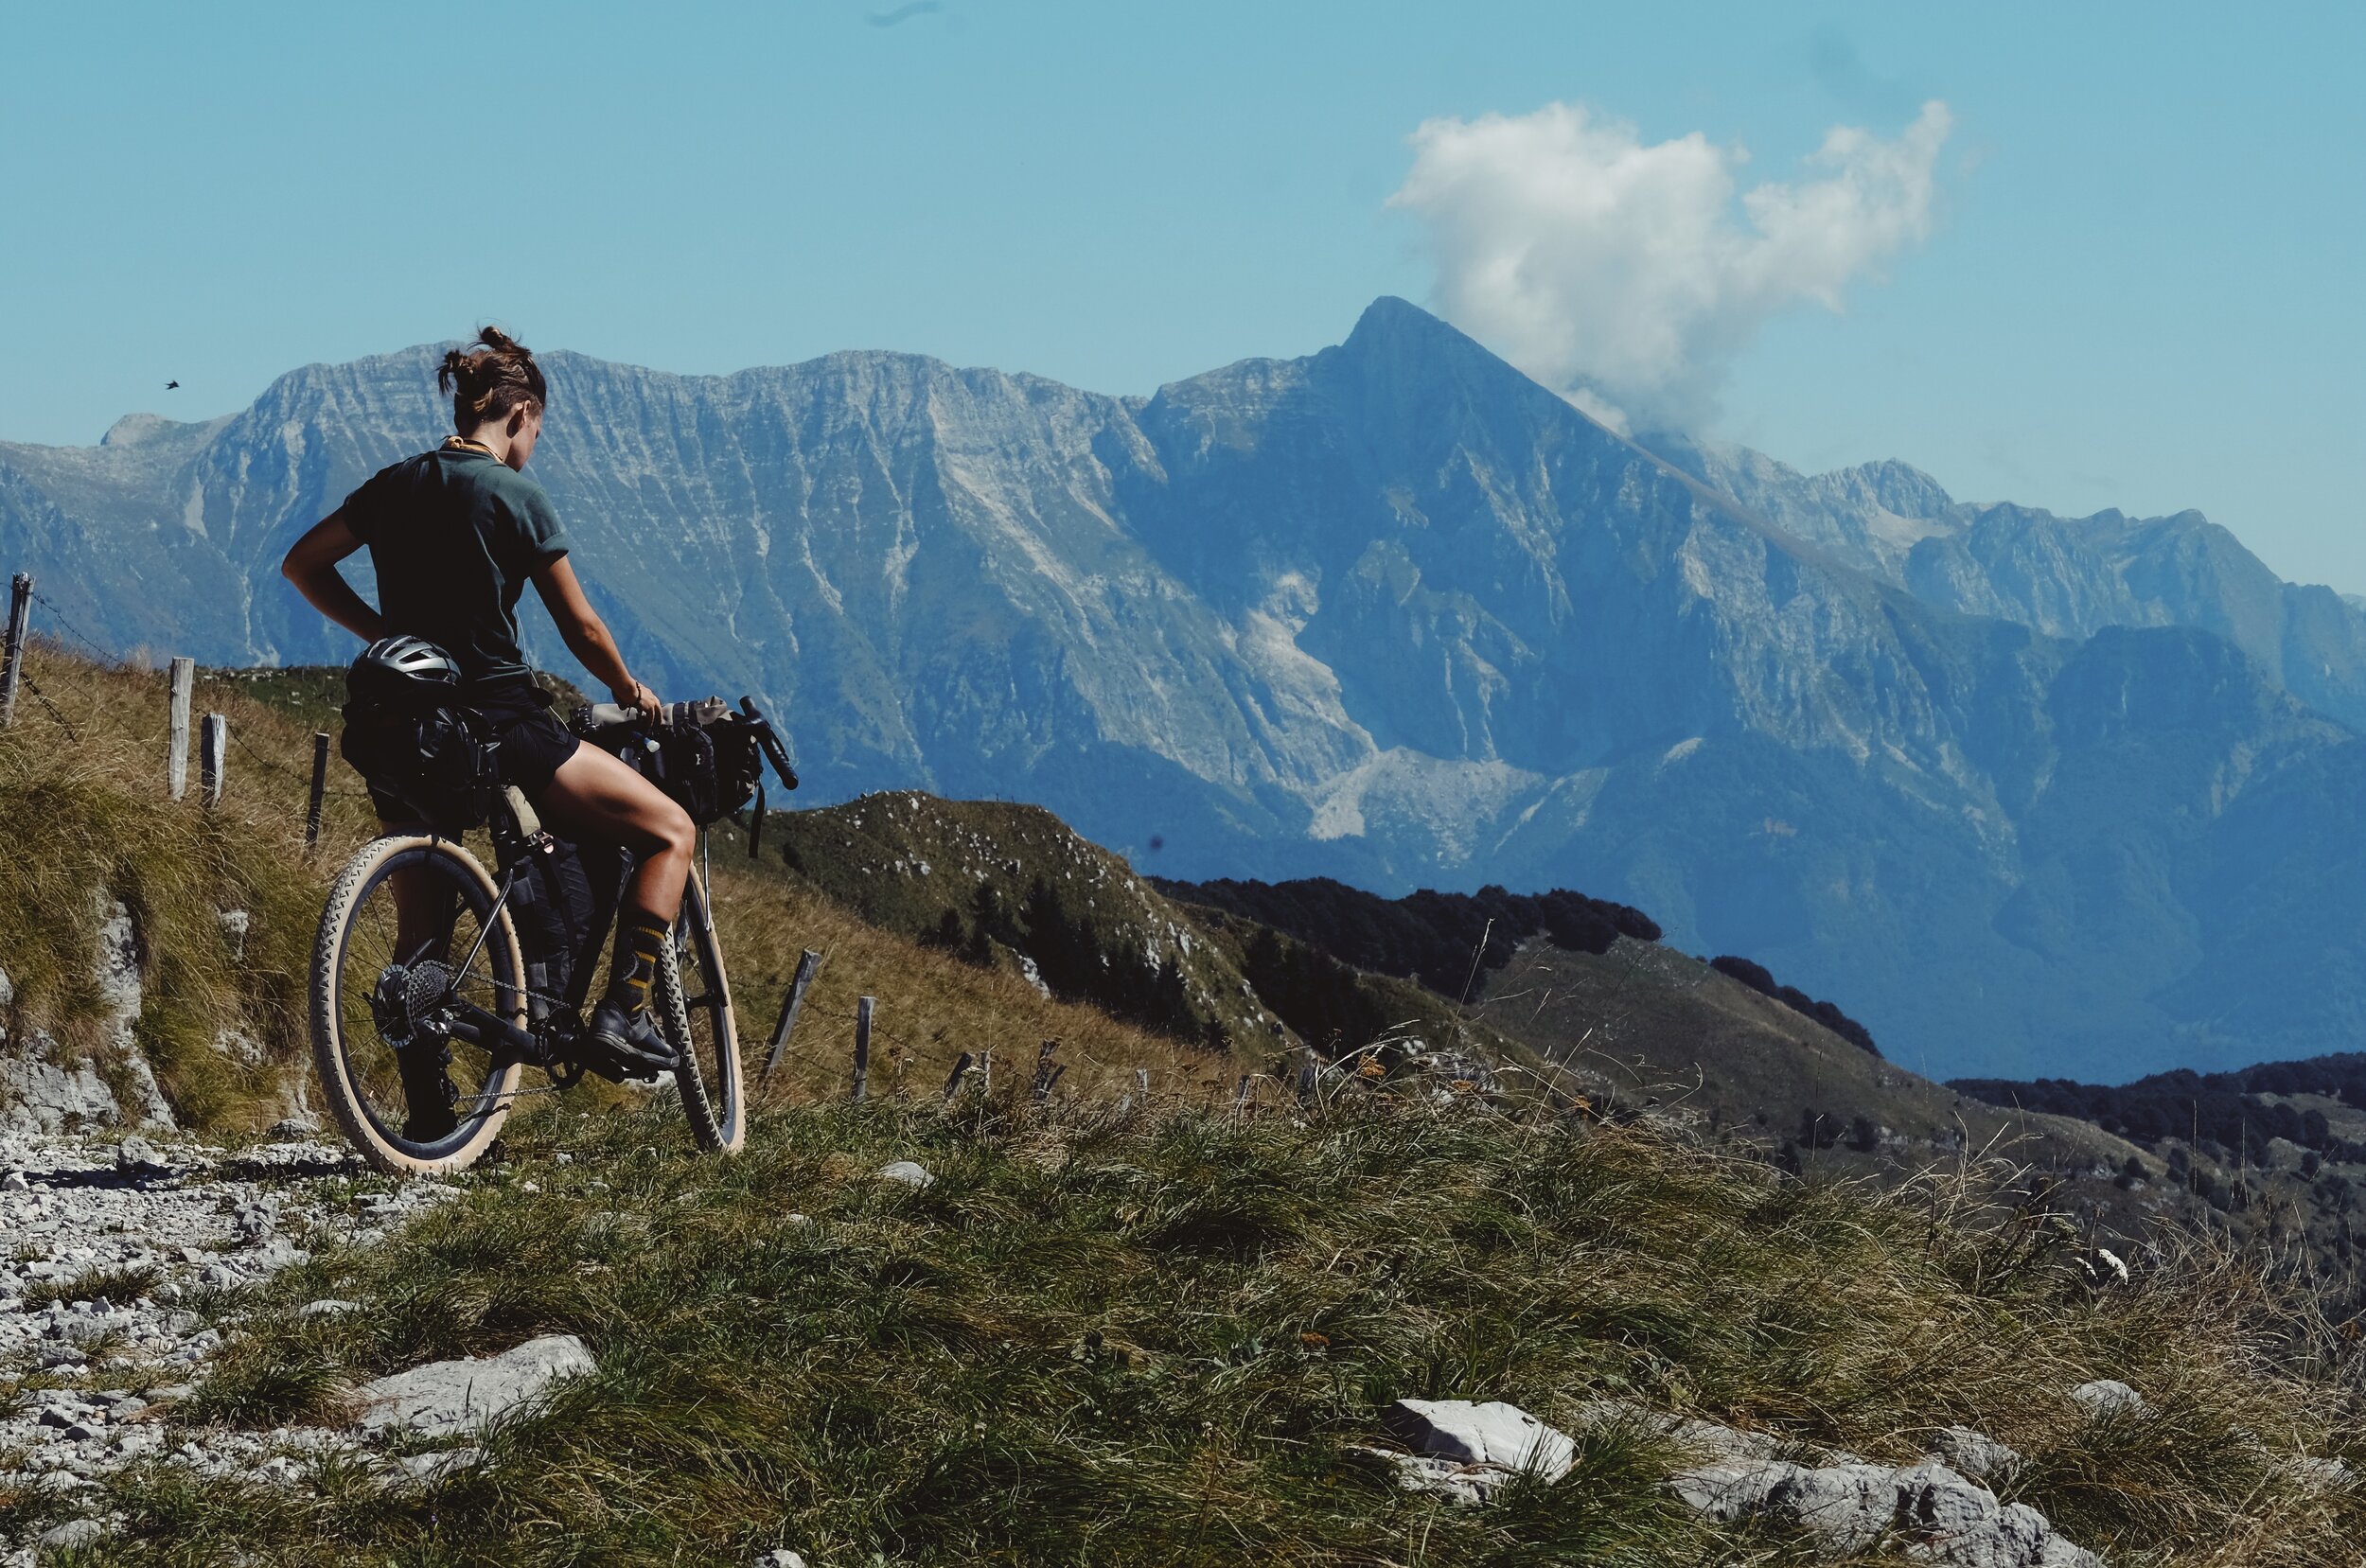
Some people have a carefree, adventurous spirit; they don’t care where they are going just so long as they are on two wheels. I am not one of these people. Throughout the 14-years I have been a cyclist, I have come to learn that I like having a plan and knowing where I am going. If you are anything like me, or if you have ever felt anxiety or stress from being dependent on someone else during a ride, or dropped from a group ride, this guide is for you. This guide will teach you the basics of routing and navigation, making a plan for your ride, what information to collect from that route so you can adequately prepare your body and equipment for the trip, and tips for how to effectively navigate in a group setting.
Reasons to Plan a Ride and Navigate with GPS
By not participating in routing and navigation, you are placing yourself in a position where you are dependent on other people. Traveling in remote places by bicycle is already a vulnerable undertaking. Adding dependency to the mix can be a source of anxiety and stress for you individually and for the group. By learning how to route and navigate you will not only eliminate this stress and anxiety, but you will gain a skill-set that will lead to confidence, independence, inspiration, and empowerment to take your adventures to new horizons.
Benefits of routing and navigating:
Know where you are, how far you have gone, and how much further you have to go.
Spend less time navigating and more time enjoying the ride.
Get to where you want to go.
Know what the statistics are for the ride: distance, elevation, terrain, and the estimated time it will take so you know how much food, water, and gear to pack.
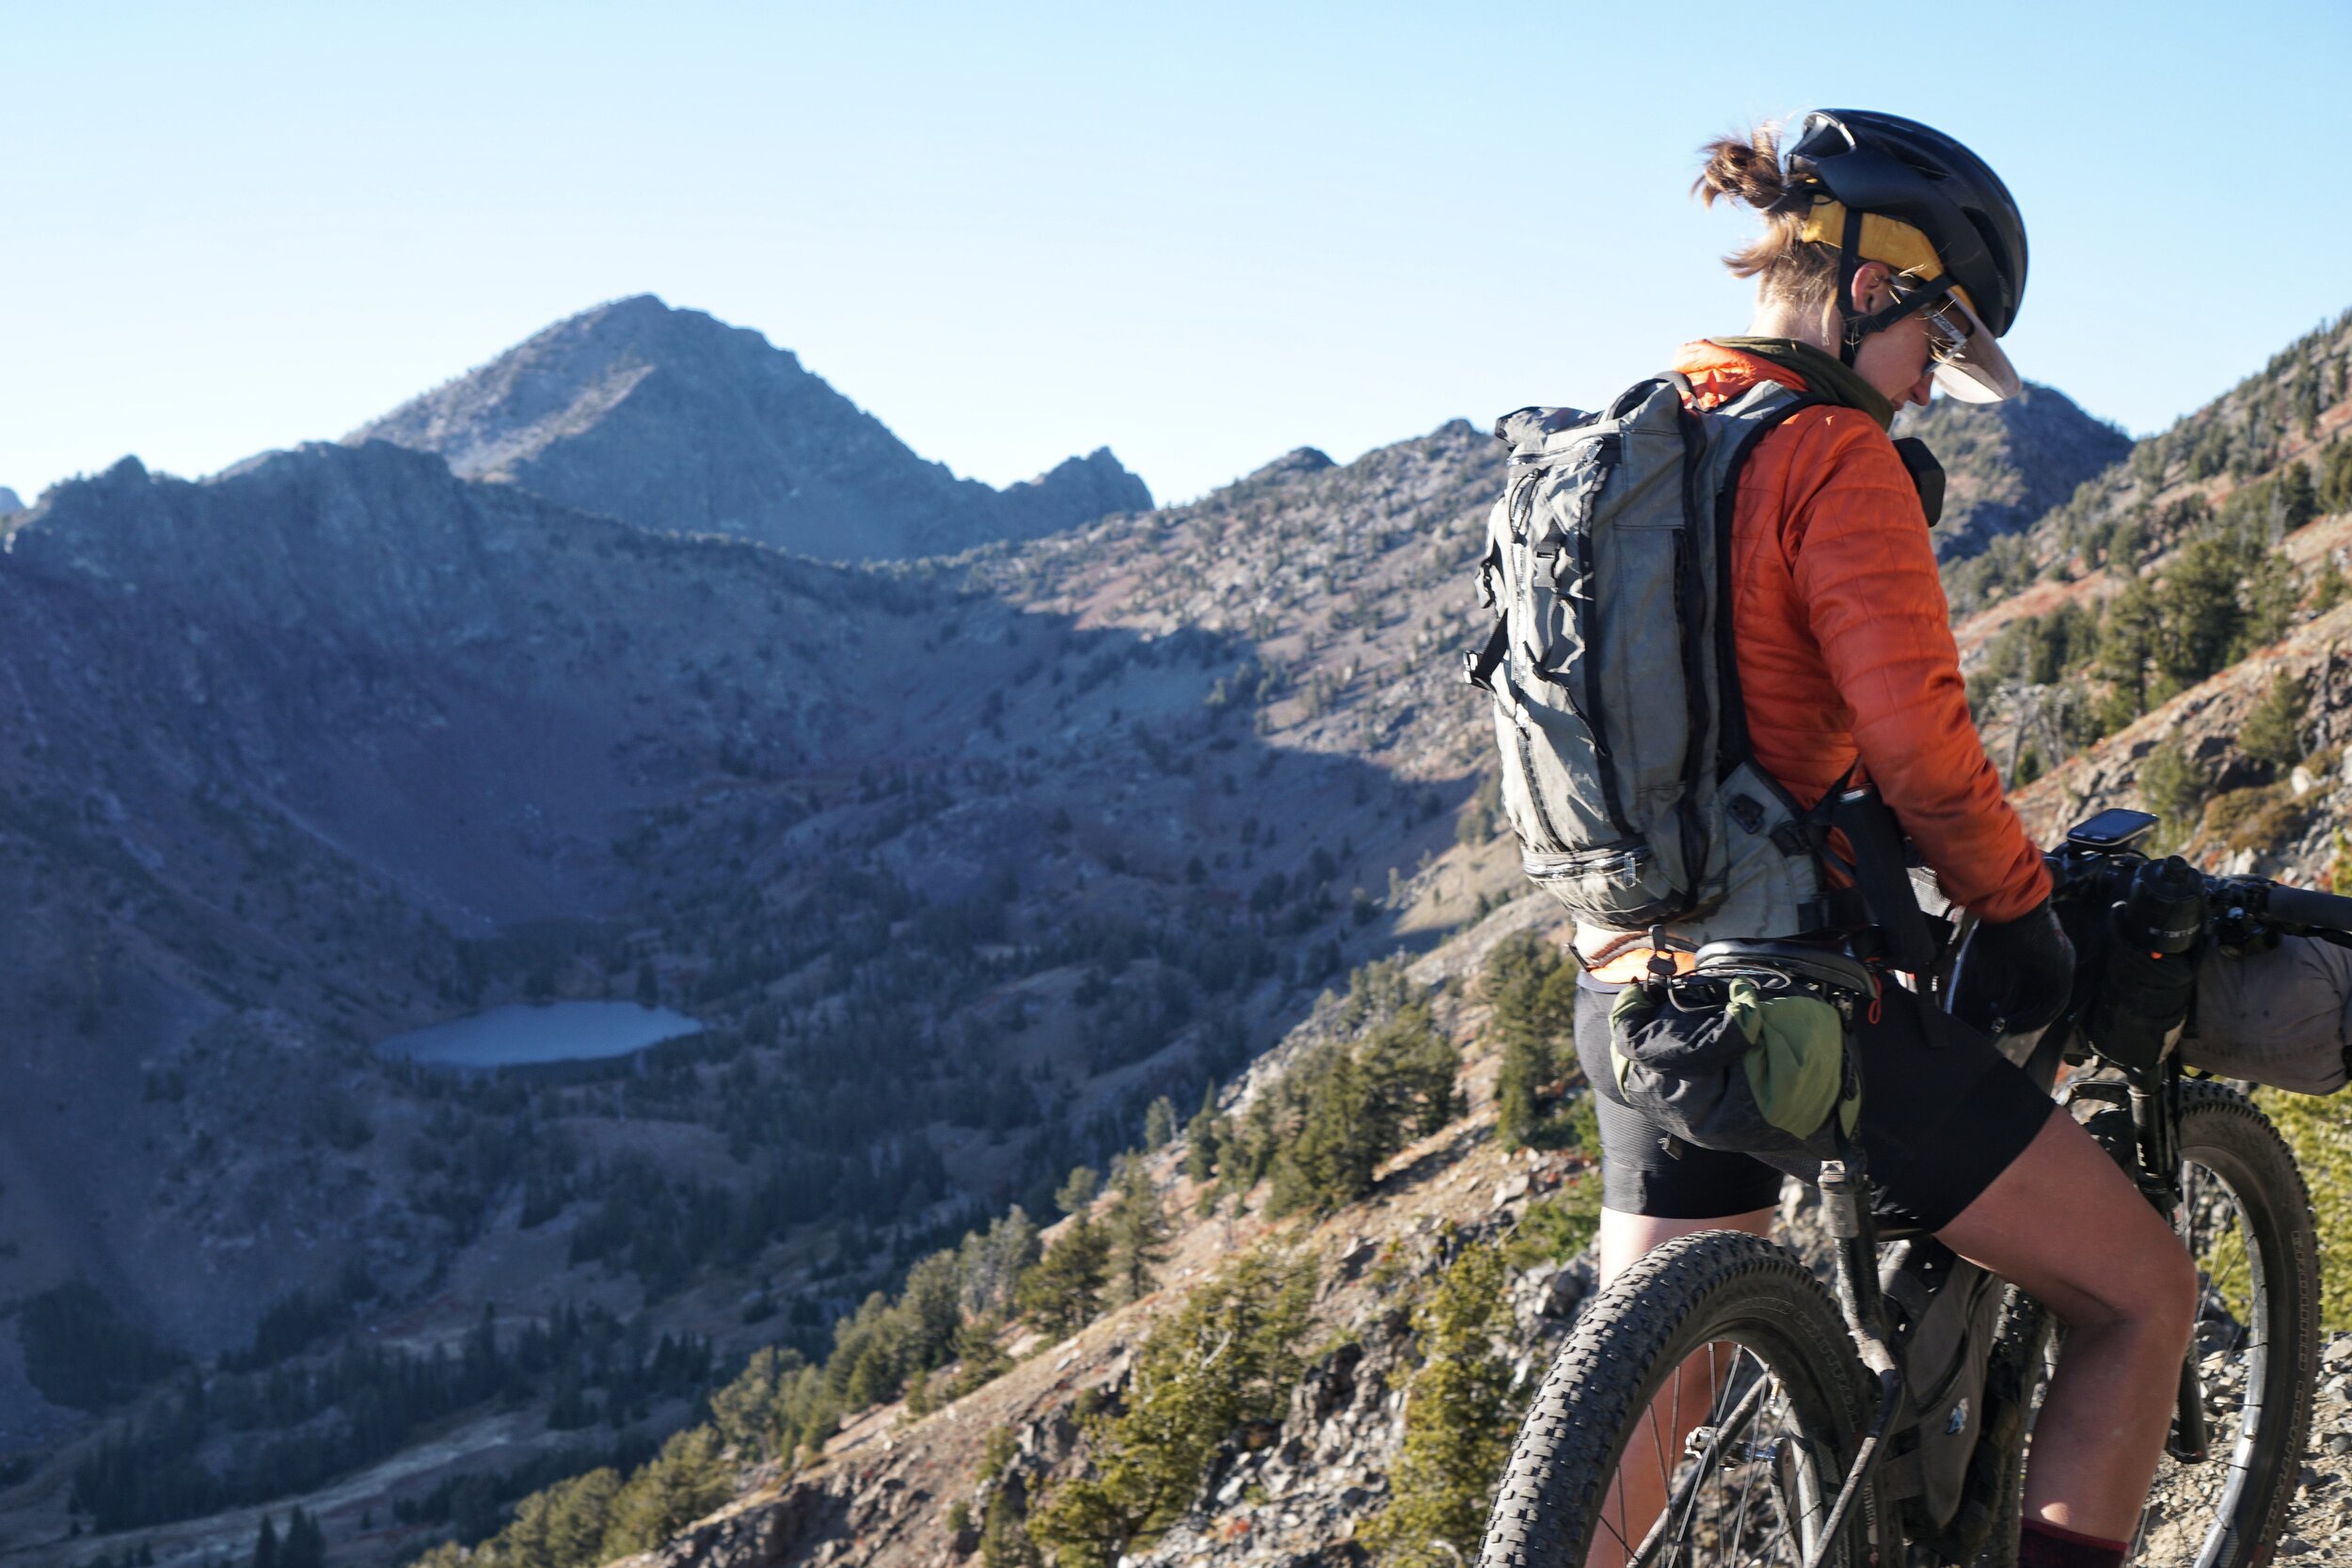
Gain a greater appreciation for the places you travel through and confidence being in those places.
Improvising your plan will become easier to do.
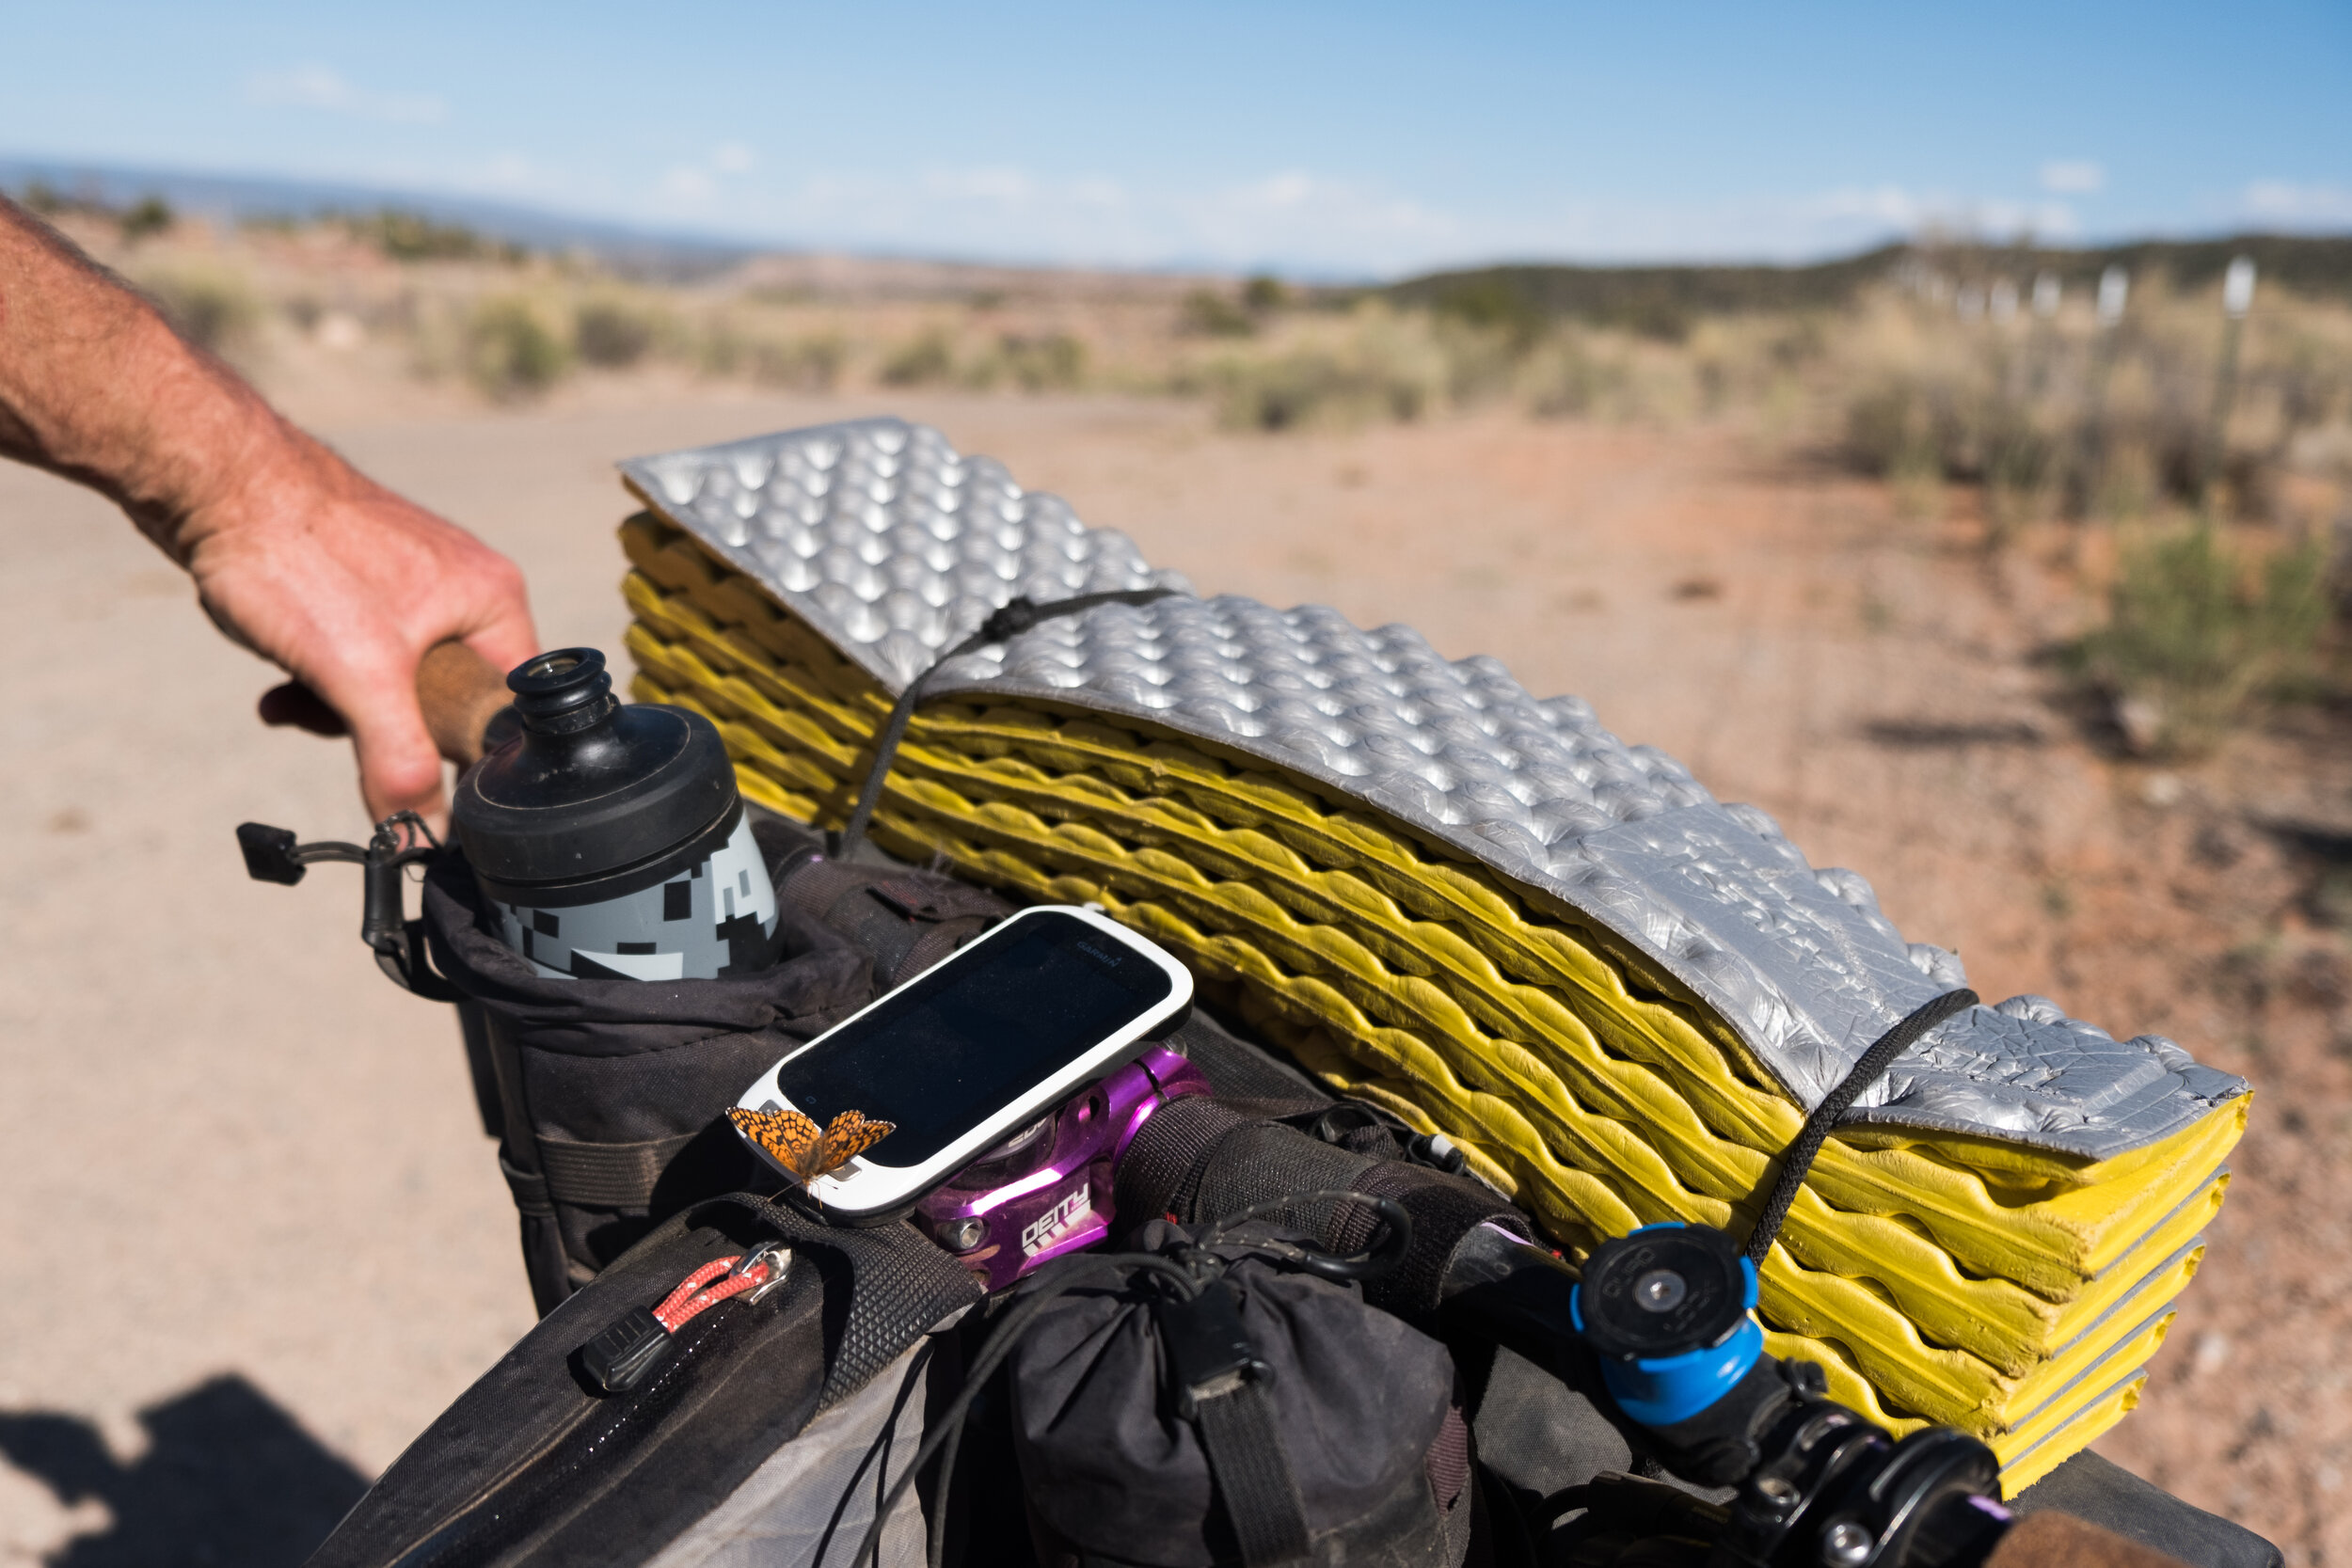
Equipment For Routing and Navigation
There are many different ways of going about routing and navigation, but my goal is to provide you with options to do the job so you can find a method that works best for your budget and time. There are financial and time barriers to being able to route and navigate like equipment, membership costs, and time to both research routes and to learn how to use routing software and navigation equipment.
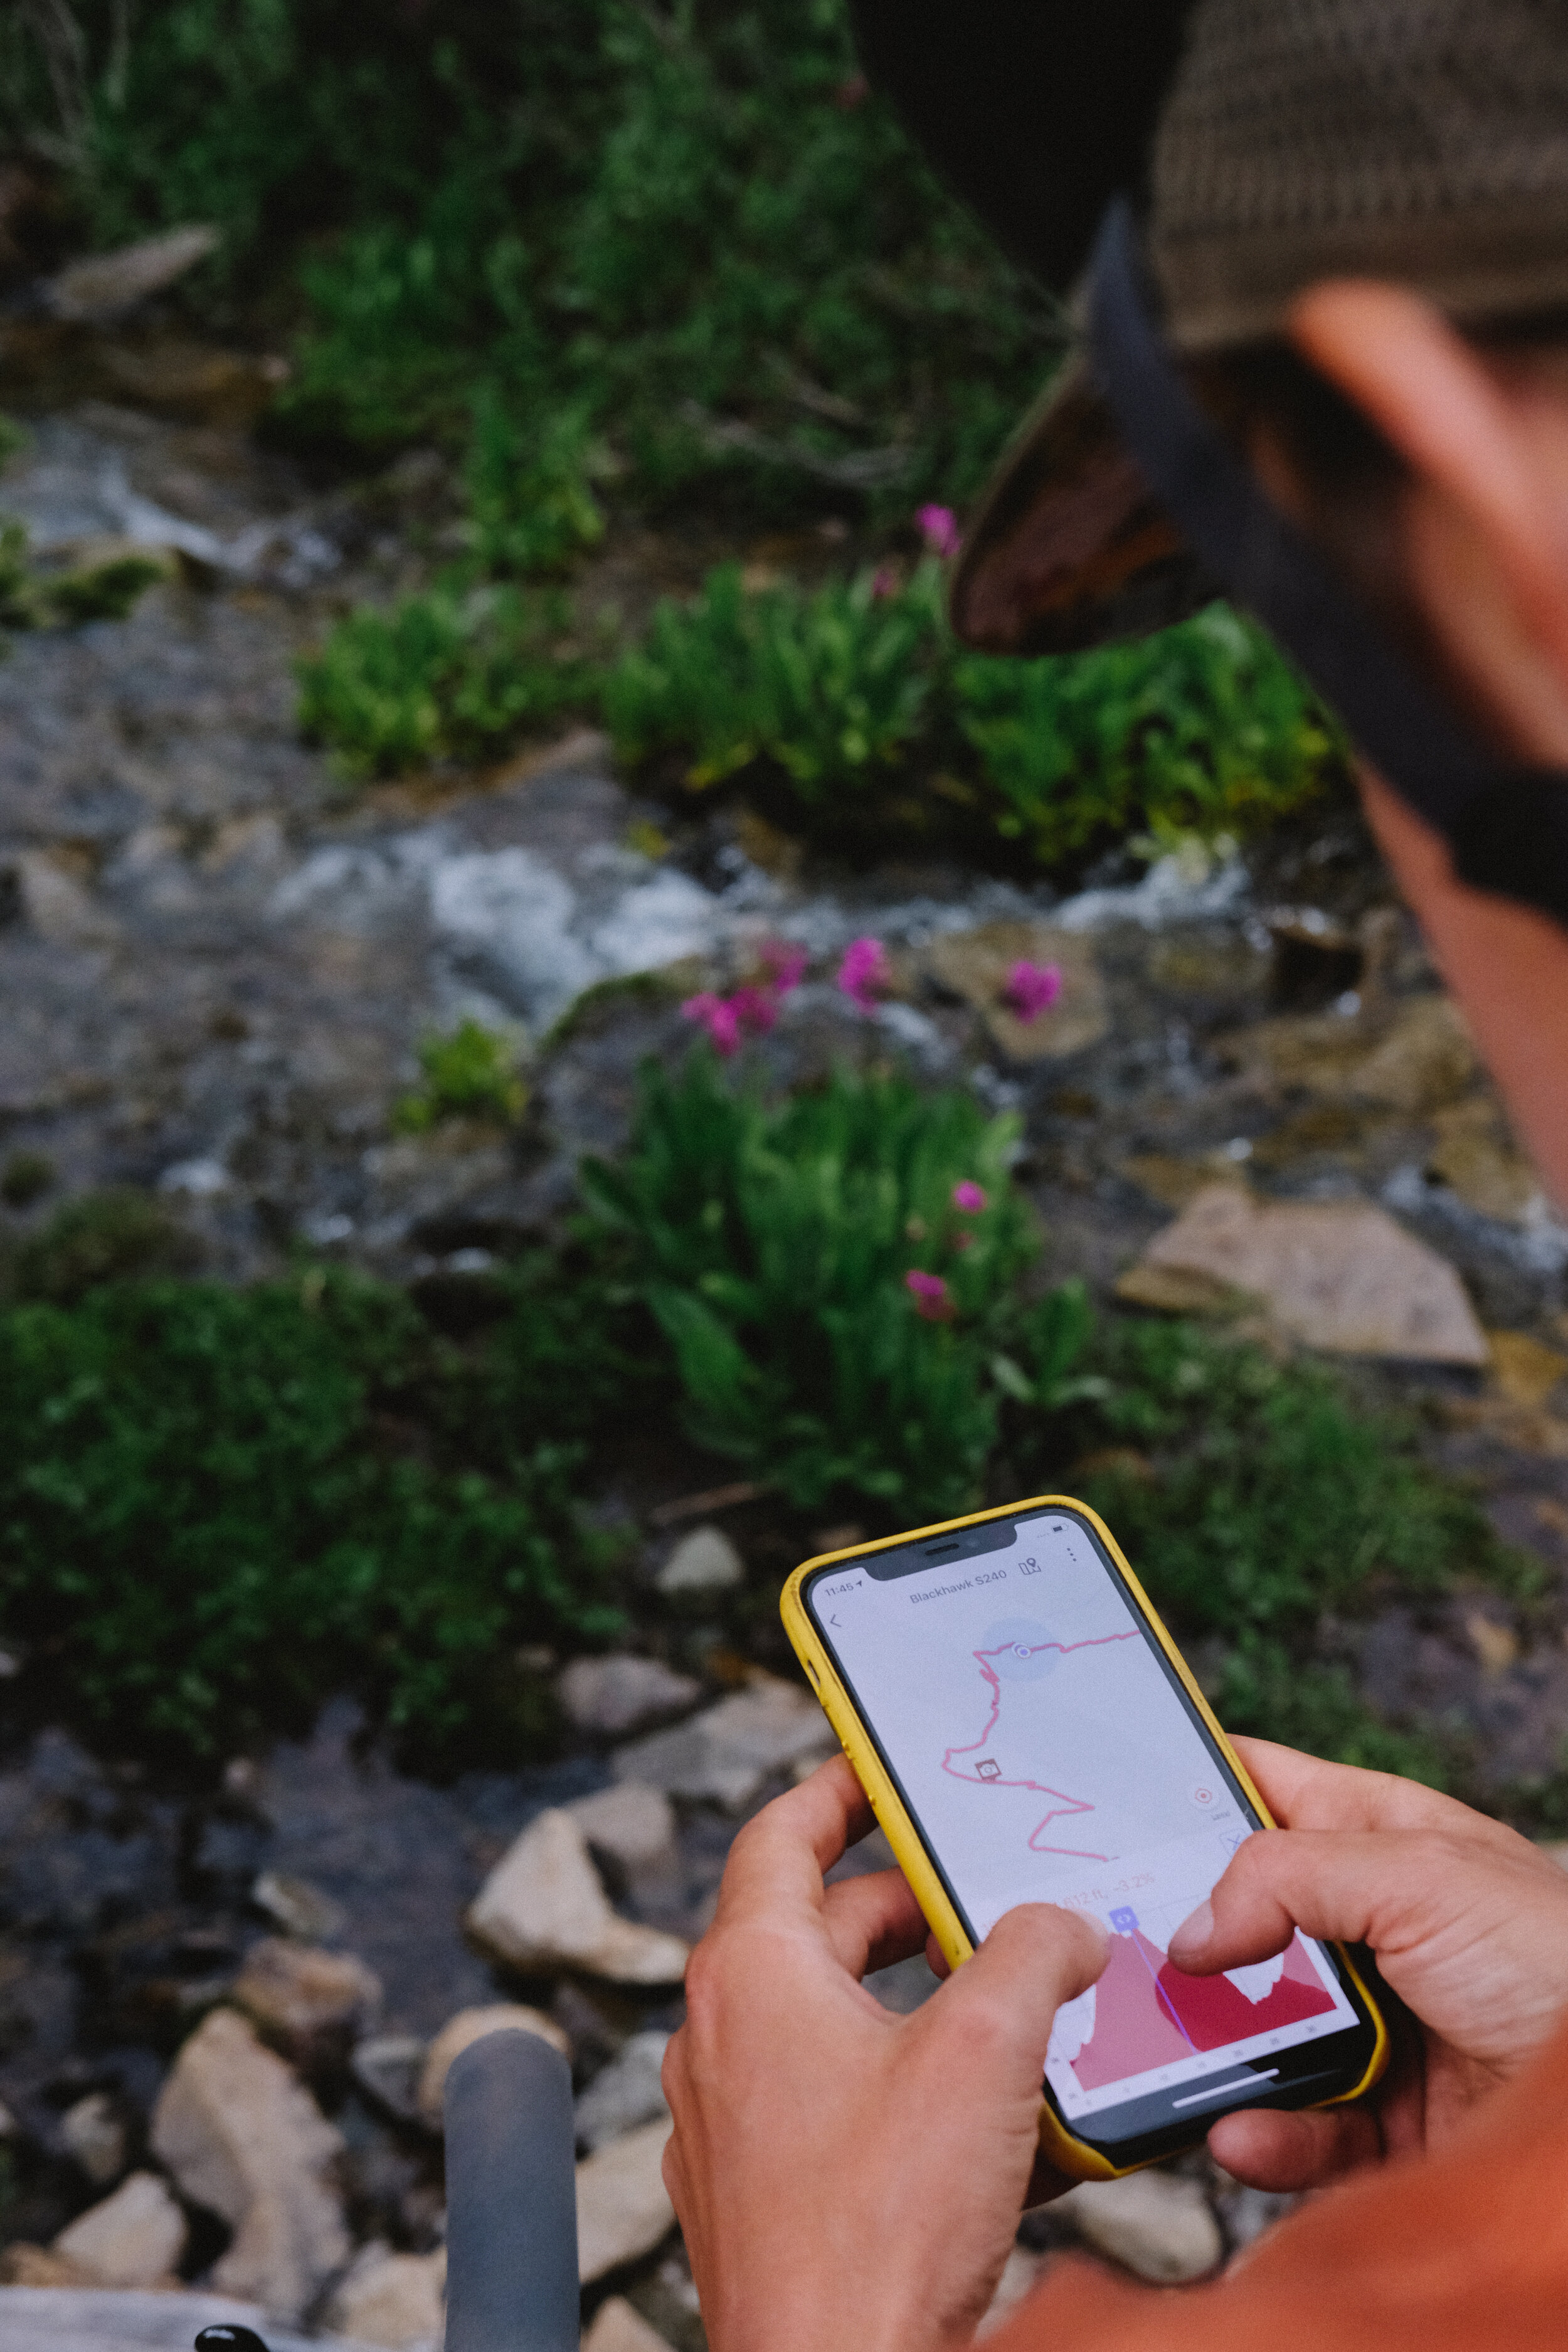
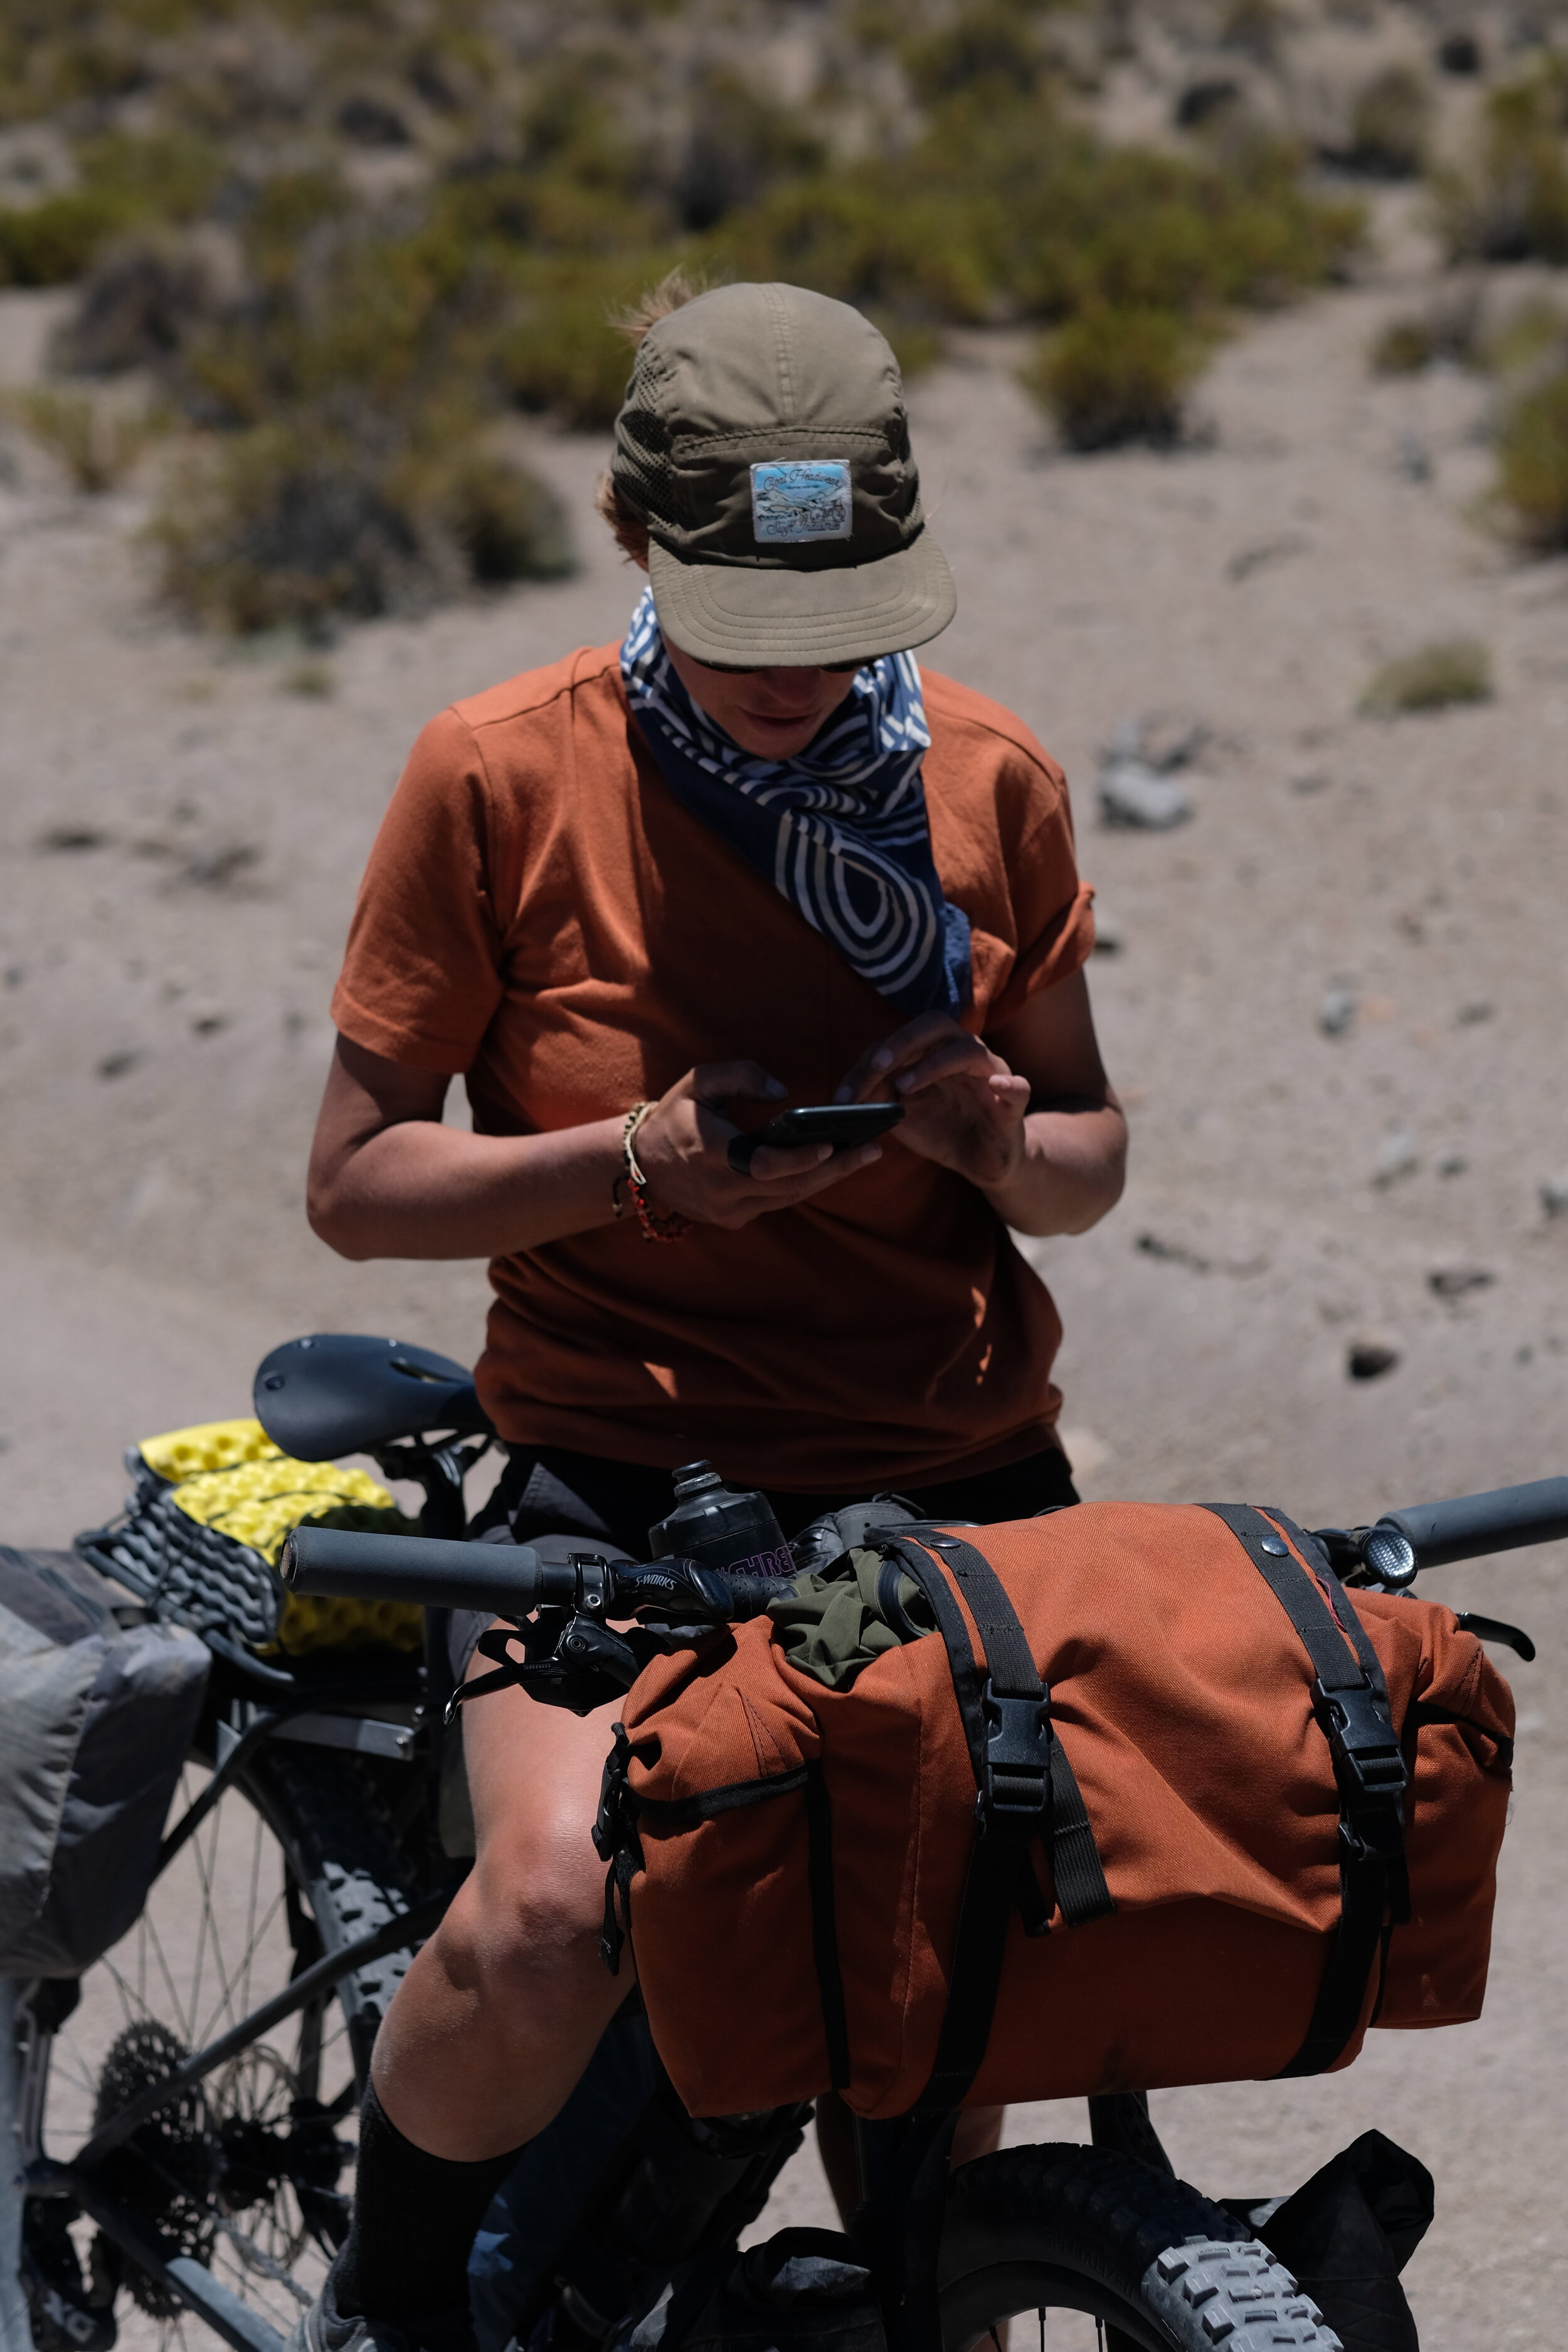
My preferred software for making routes is Ride with GPS (RWGPS) because it includes route-making features specifically designed for cyclists. RWGPS offers a free membership option that allows users to make routes via a web browser on a computer and download .gpx files. RWGPS is an excellent option for folks who already have a GPS device and access to a computer. If you don’t have these, then you can use your smartphone to make routes and navigate them in airplane mode with a basic membership of $6/month.
My preferred setup is to use all three - my laptop to make routes on RWGPS and for doing route research, a Garmin GPS device for navigation, and the RWGPS app on my smartphone as a backup form of navigation; to reference my POIs, and to view where I am along the route. While I choose to use all the tools listed below, not all are required. Choose the combination of equipment that works best for your time and budget. There are options for nearly every person.
Internet connection or cell reception
A membership with RWGPS ($6 - $10/month).
A smartphone ($200 + $$$$)
GPS Device (Garmin Edge Series $249 - $399, or Wahoo Elemnt Roam Series $229 - $379)
A handlebar mount for your smartphone or GPS device (SRAM, Barfly, K-Edge, or Quadlock $20-$100)
A laptop or desktop computer (free at a library to $$$$)
Basemaps for your GPS device (free to $20 per map)
Time and patience for route research and to learn the routing software and/or your GPS device.
The Difference Between Using an Established Route and Making Your Own
There are two different ways of routing. The first is following an established route that someone has already researched and tested. The second is making your route from scratch.
Using established routes is a good option for all cyclists because someone has already done the research and testing for the route, allowing you to spend less time researching a route and more time riding your bike. If you are new to bikepacking and want to try it out to see if you like it, use an established route. An established route is also a good option for when you travel to a country you have never been to before. It makes traveling by bike a little easier, so you are free to immerse yourself and fully enjoy the experience of getting to know a new culture and place.
Examples of established routes are the Great Divide Mountain Bike Route, Baja Divide, Western Wildlands Route, and the Sky Islands Odyssey.
It is handy to know how to make your route from scratch because established routes are not always available in a place you want to ride. Making your route can unlock the spirit of adventure by allowing you to get creative with the way you experience a new location. You can make a route custom to your preferences for surface, terrain, and distance that accommodates how much time you have available to ride. If you are a multi-activity type of person, you might want to design a ride that will take you to a trailhead for a hike or climb; a put-in for packrafting; or a remote beach for some snorkeling. Through the process of the research required to make your route, you will familiarize yourself with the region you are about to travel in. As you ride, you will feel the power of this knowledge through your confidence and your ability to quickly problem-solve, if necessary.
Making your own route can be challenging because it takes time to research and get familiar with the software. You are also bound to make some routing mistakes, which can result in putting yourself in a more complicated scenario than you intended or planned. When making your route it is essential to be flexible with your plans, willing to improvise, and even be OK with not completing the ride. The way we show up in these moments of routing and navigation challenge is what differentiates our experience from catastrophe to adventure.
How to Plan A Ride
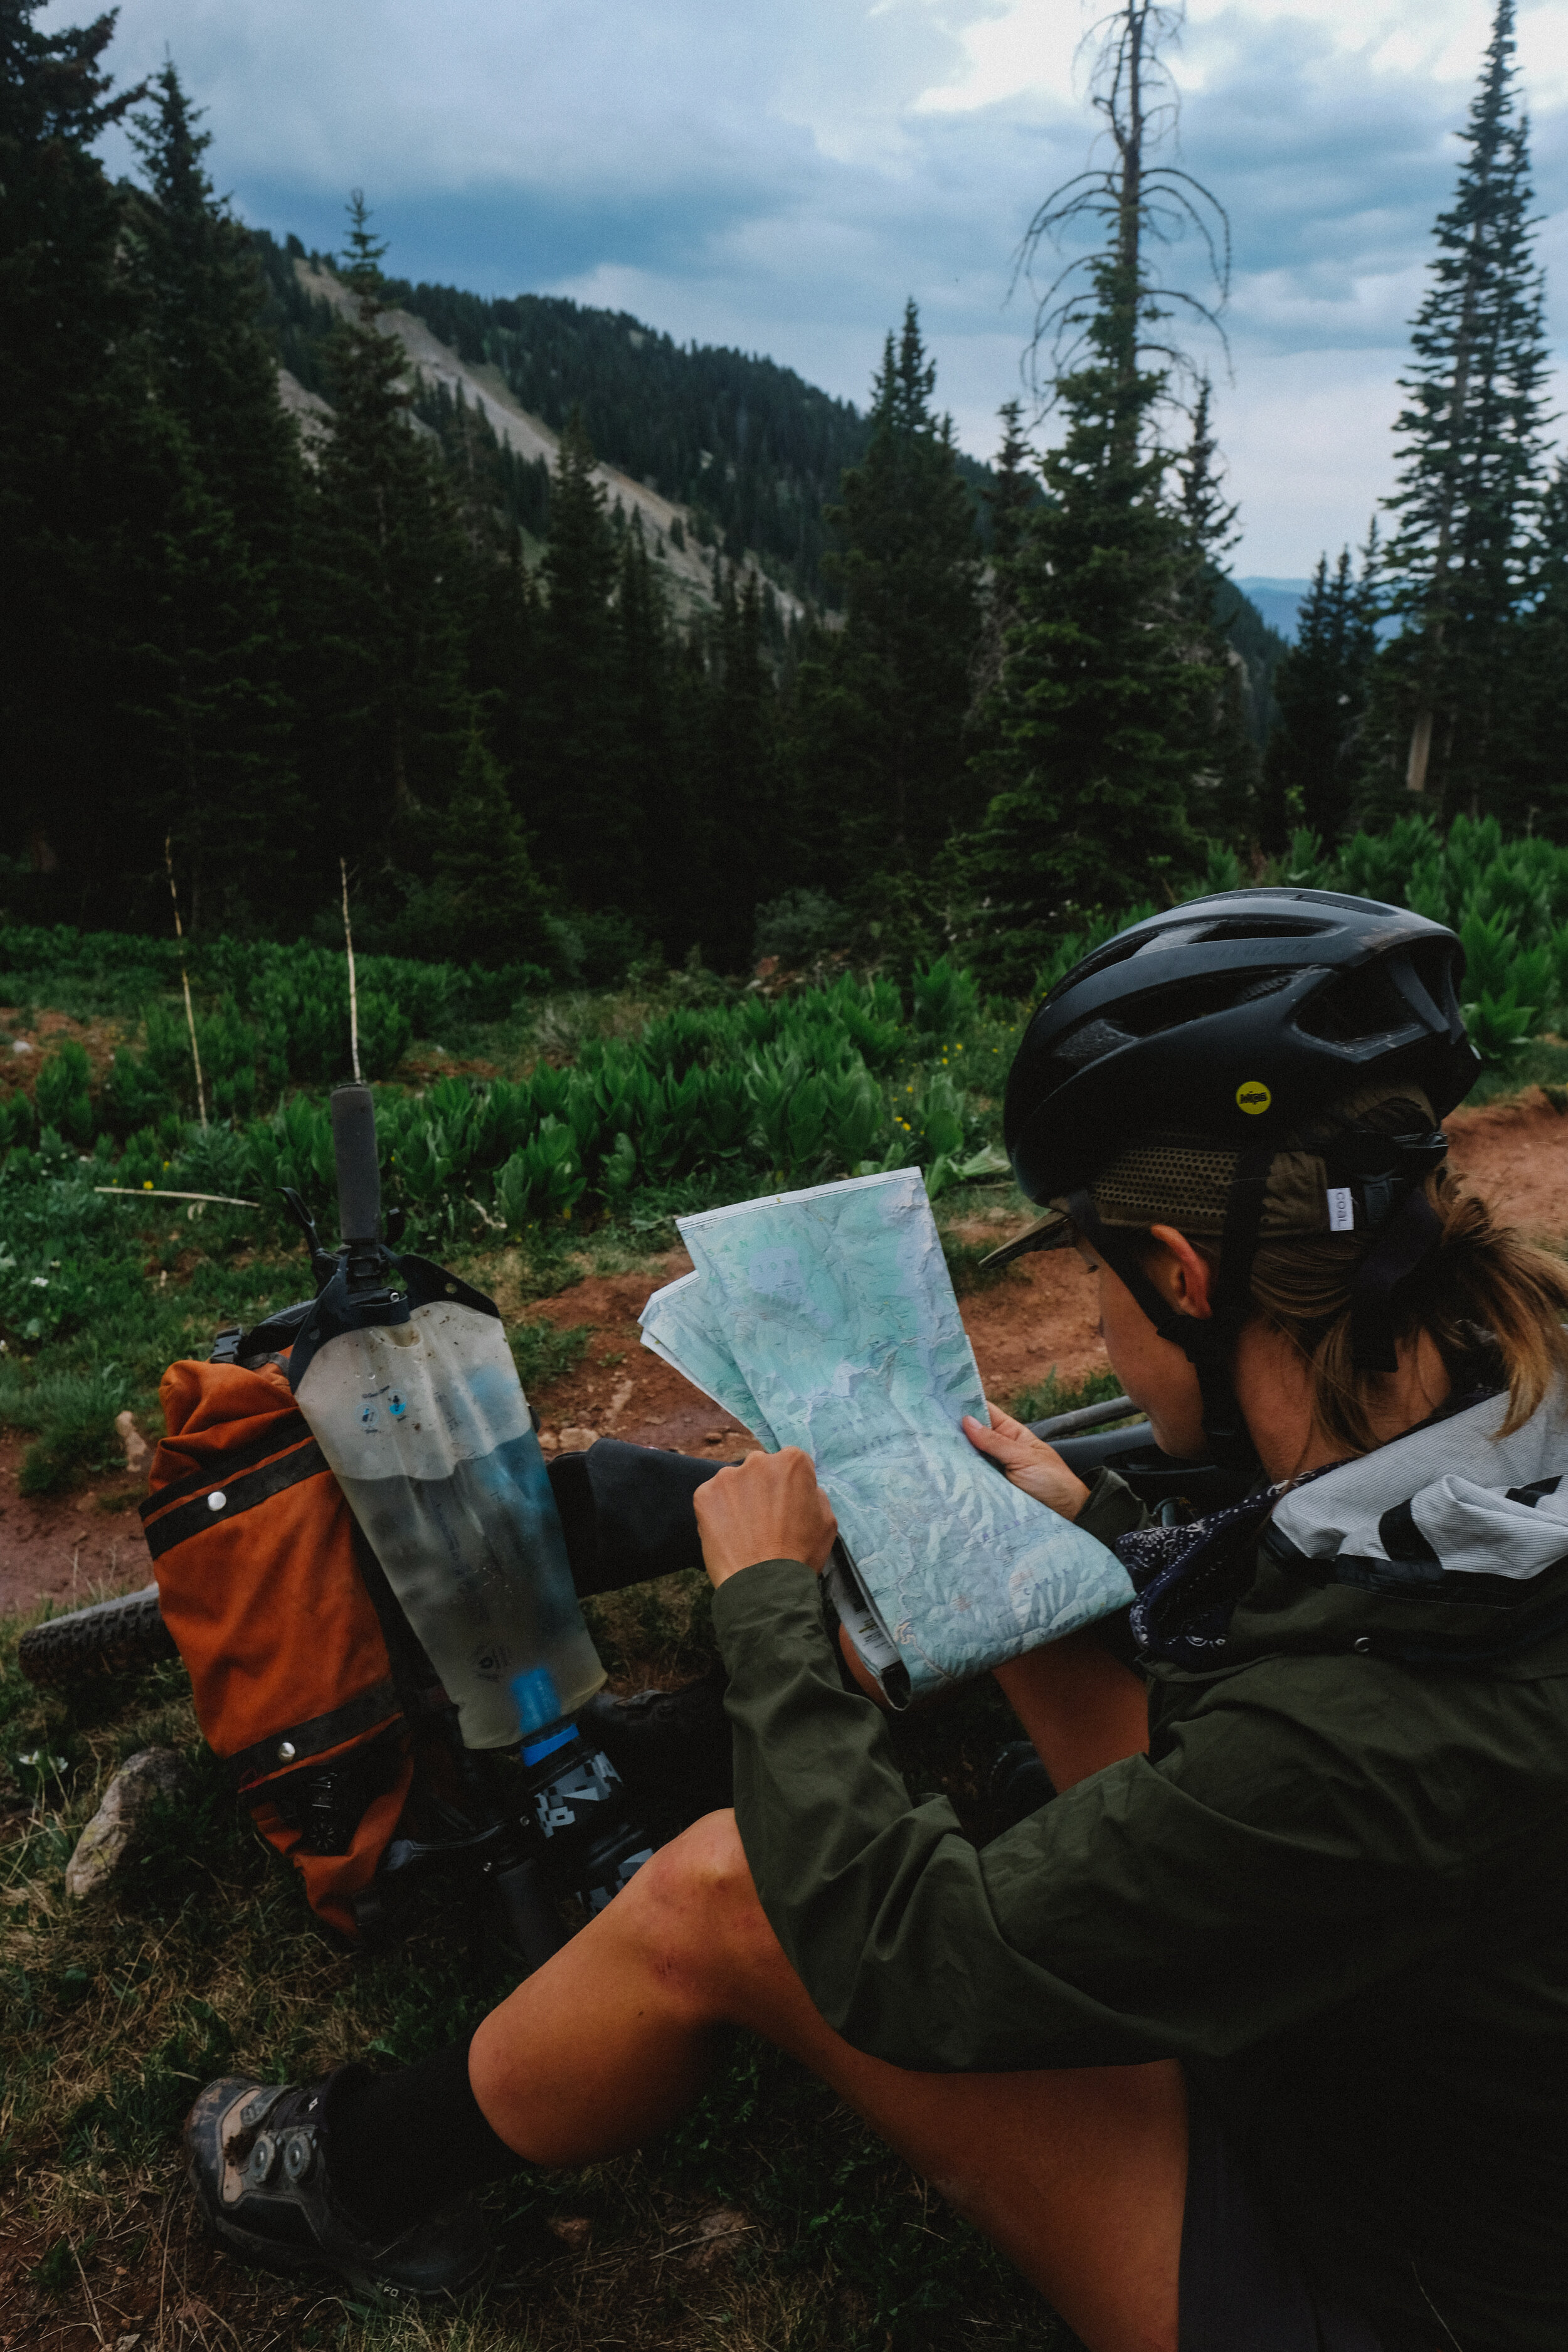
Step 1: Decide where you want to ride using Google Maps, RWGPS, and/or paper maps. Your inspiration for a location can come from the contours on a map, movie settings, non-fiction and fictional stories, documentaries, and/or word-of-mouth recommendations. Public lands; National Forest, National Monuments, BLM as well as State Parks and Forests are all optimal places to make routes through.
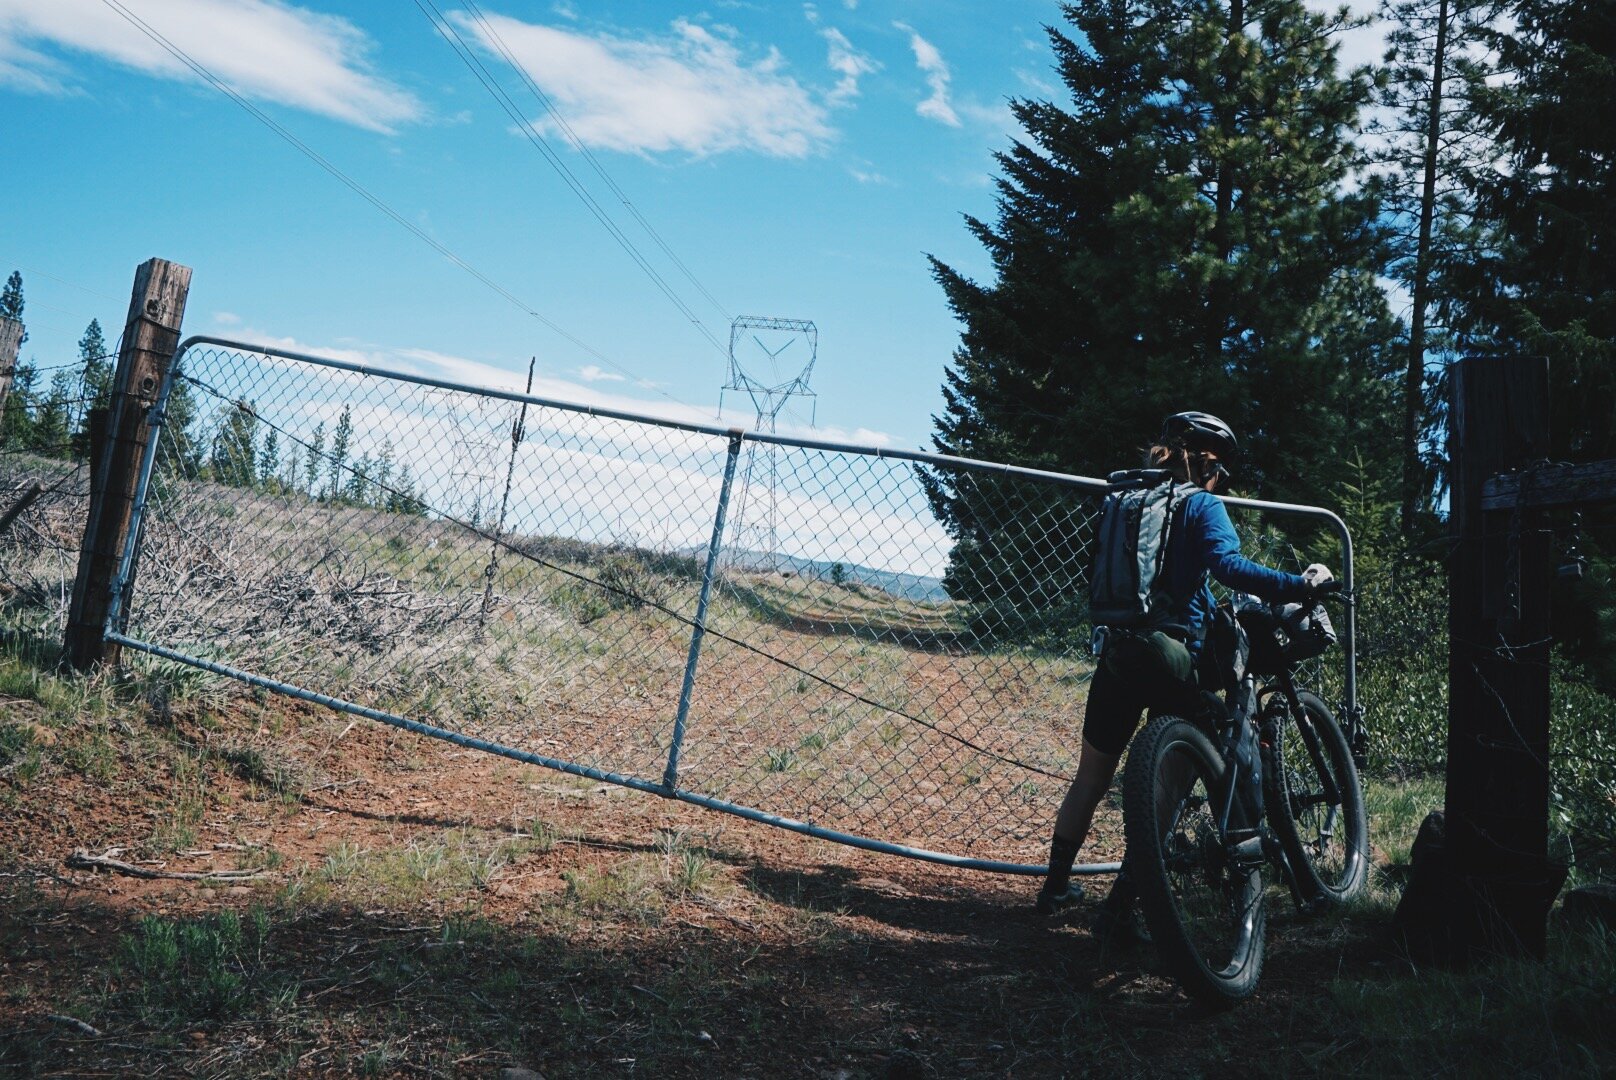
Step 2: Start planning your route using Ride with GPS. Use the OSM cycle map, satellite map, and google street view option to find dirt roads. Be careful, some basemaps are not 100% accurate and do not always show where private property is. Use the satellite map to check that the roads you are using exist and if there are any gates or fences across your route. You can use a paper map to cross-check your route as well. For detailed instructions on how to make a route on the RWGPS website visit https://ridewithgps.com/help/planning.
Step 3: Add POIs to your route where there are opportunities to resupply food and water. You may also want to note any specific points of interest like a scenic vista, hot spring, or shortcut.
Step 4: Review the statistics of your route. Note the total distance of the ride, elevation, and distance between resupply points. Make sure that the route is do-able for the time you have. If it seems too hard, make adjustments or research your shortcut options.
Step 5: Name and save your route. I like to name my routes starting with the distance, then with the notable location the route travels through and where your route starts. For example 37 Las Cienegas Dirt Route from Sonoita.
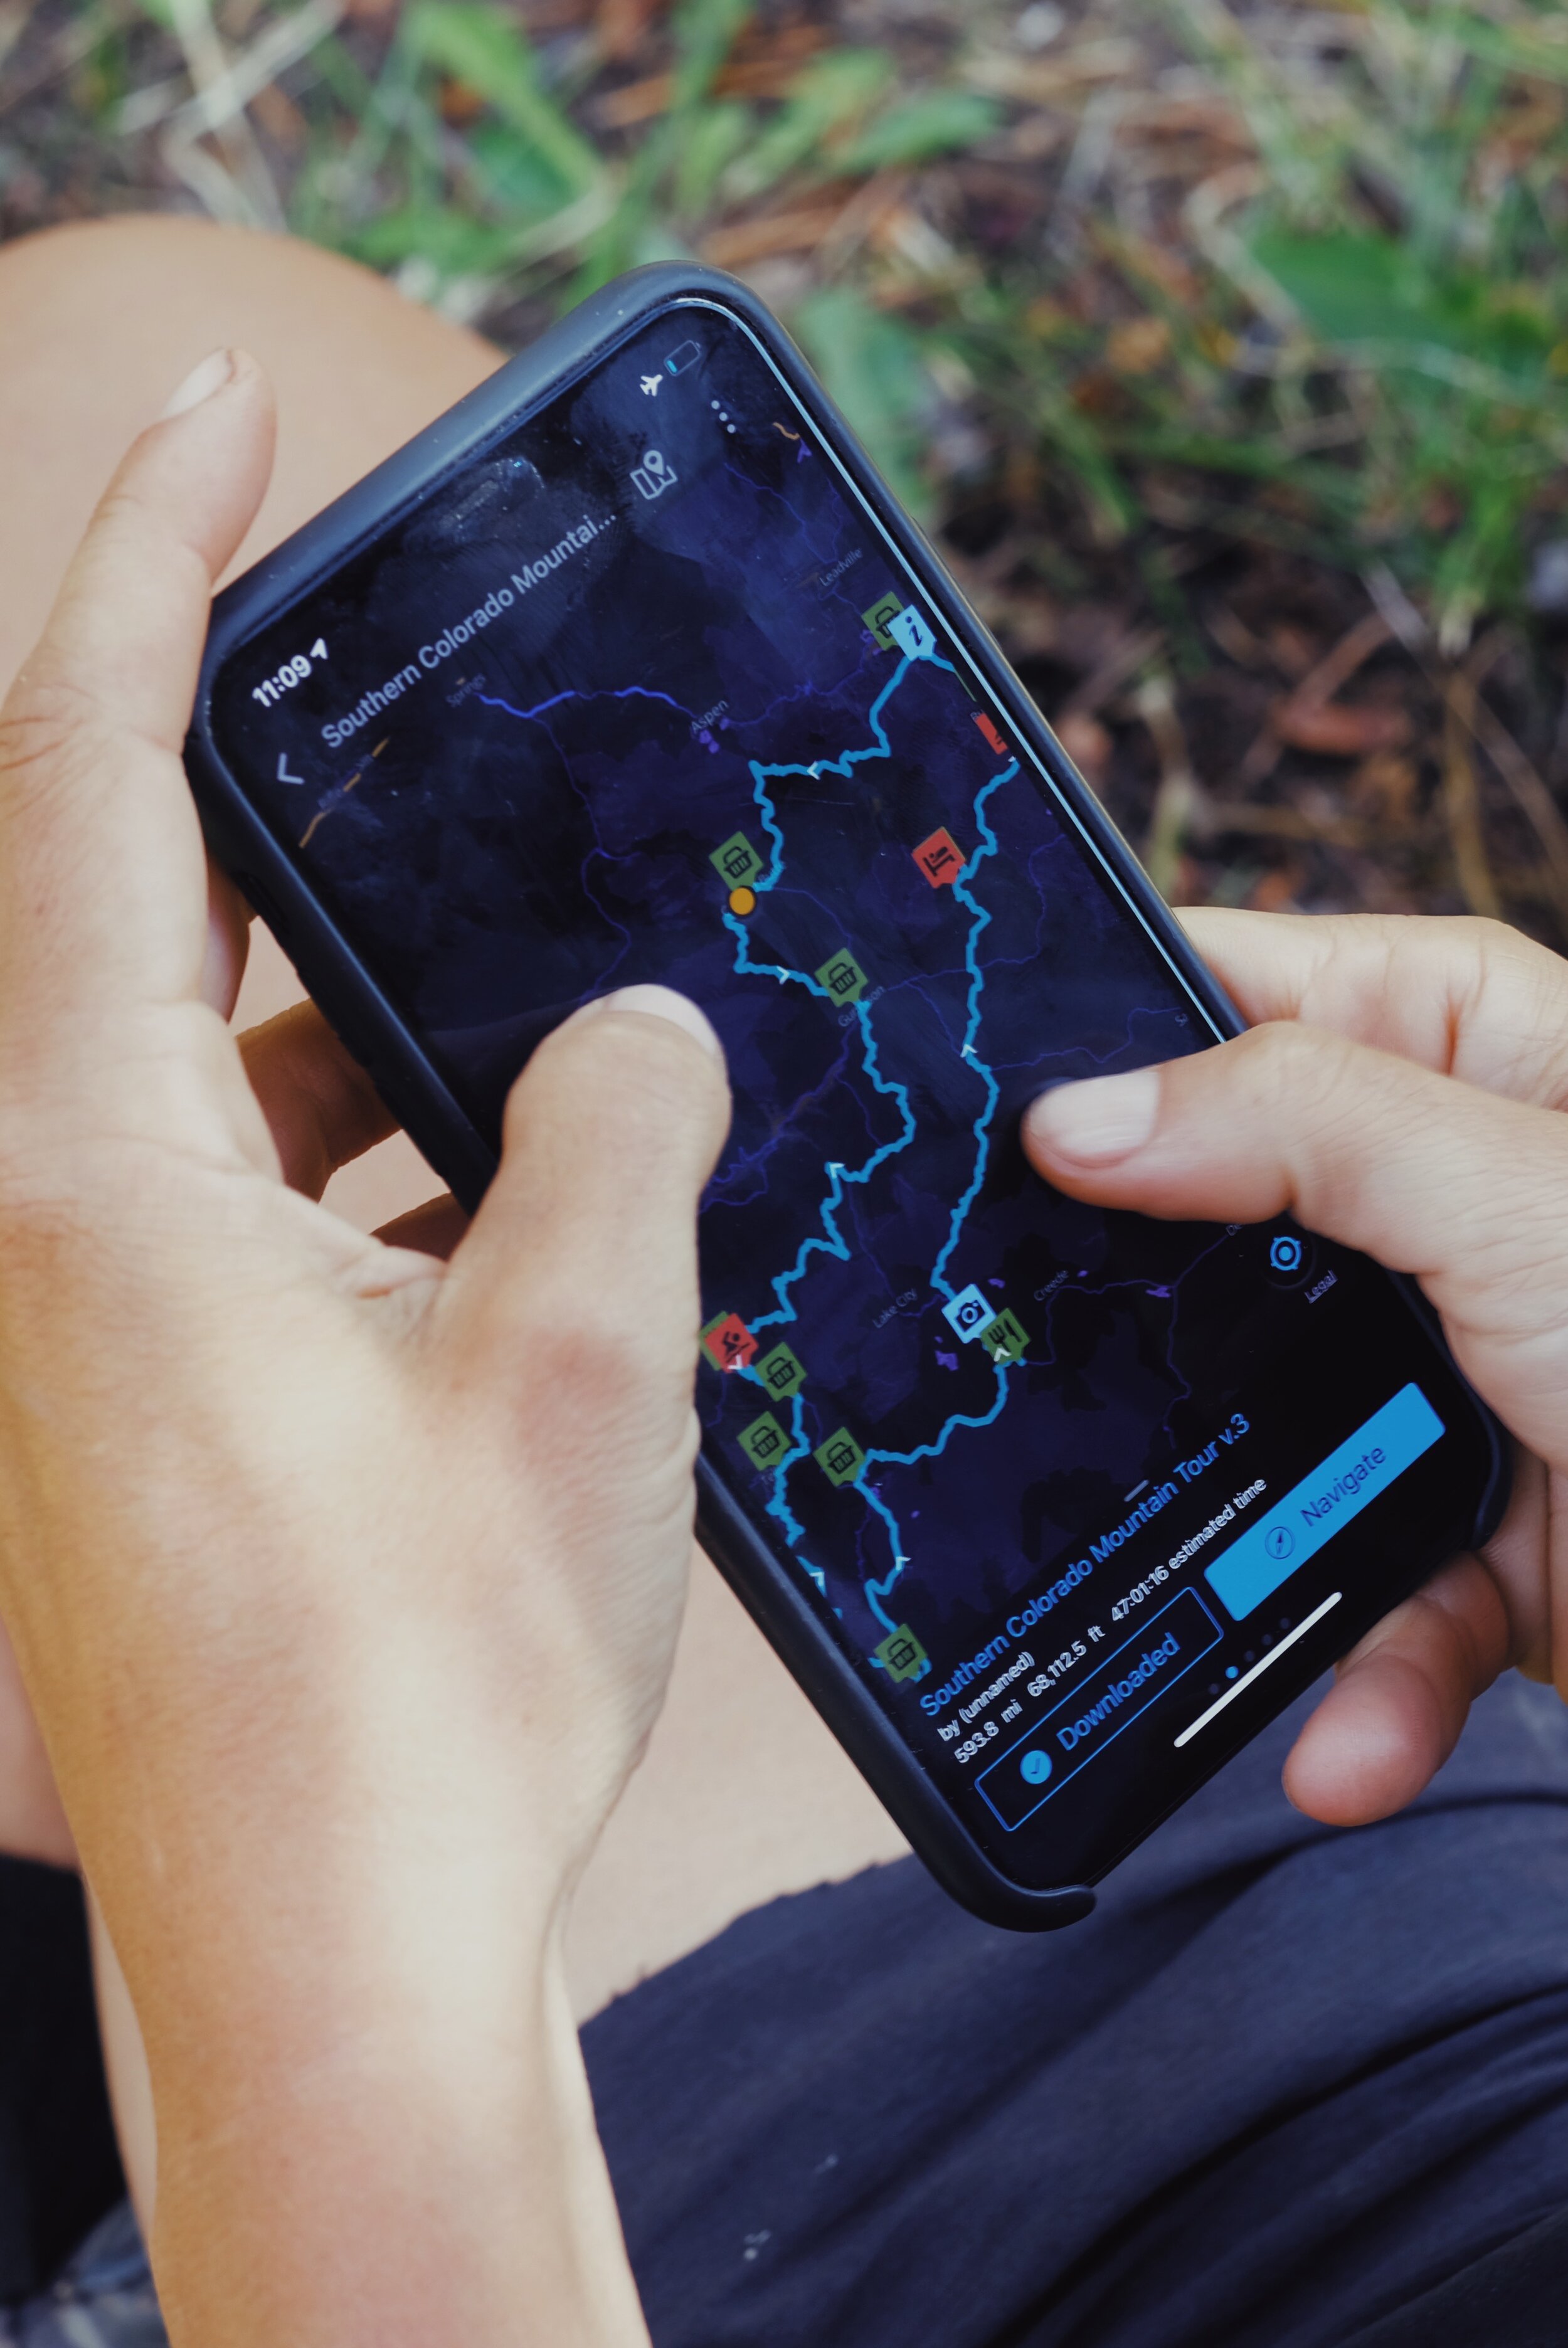
Step 6: Upload your route to a GPS device. There are two options here; you can use the RWGPS app with a Basic membership to download the route on your phone so it is available offline, or you can download the .gpx. file on your computer and upload the file onto your GPS device. The uploading process for each GPS device brand is different so be sure to refer to it’s manual or online instructions.
Step 7: Check your device to ensure the route has been properly downloaded and installed before you leave for your ride.
Step 8: Install any basemaps needed on your GPS device. Open Street Map (http://garmin.openstreetmap.nl/) provides free detailed basemaps for most locations. For detailed steps on how to install basemaps on your GPS device, visit https://www.dcrainmaker.com/2013/05/download-garmin-705800810.html
Step 9: Start riding and navigating.
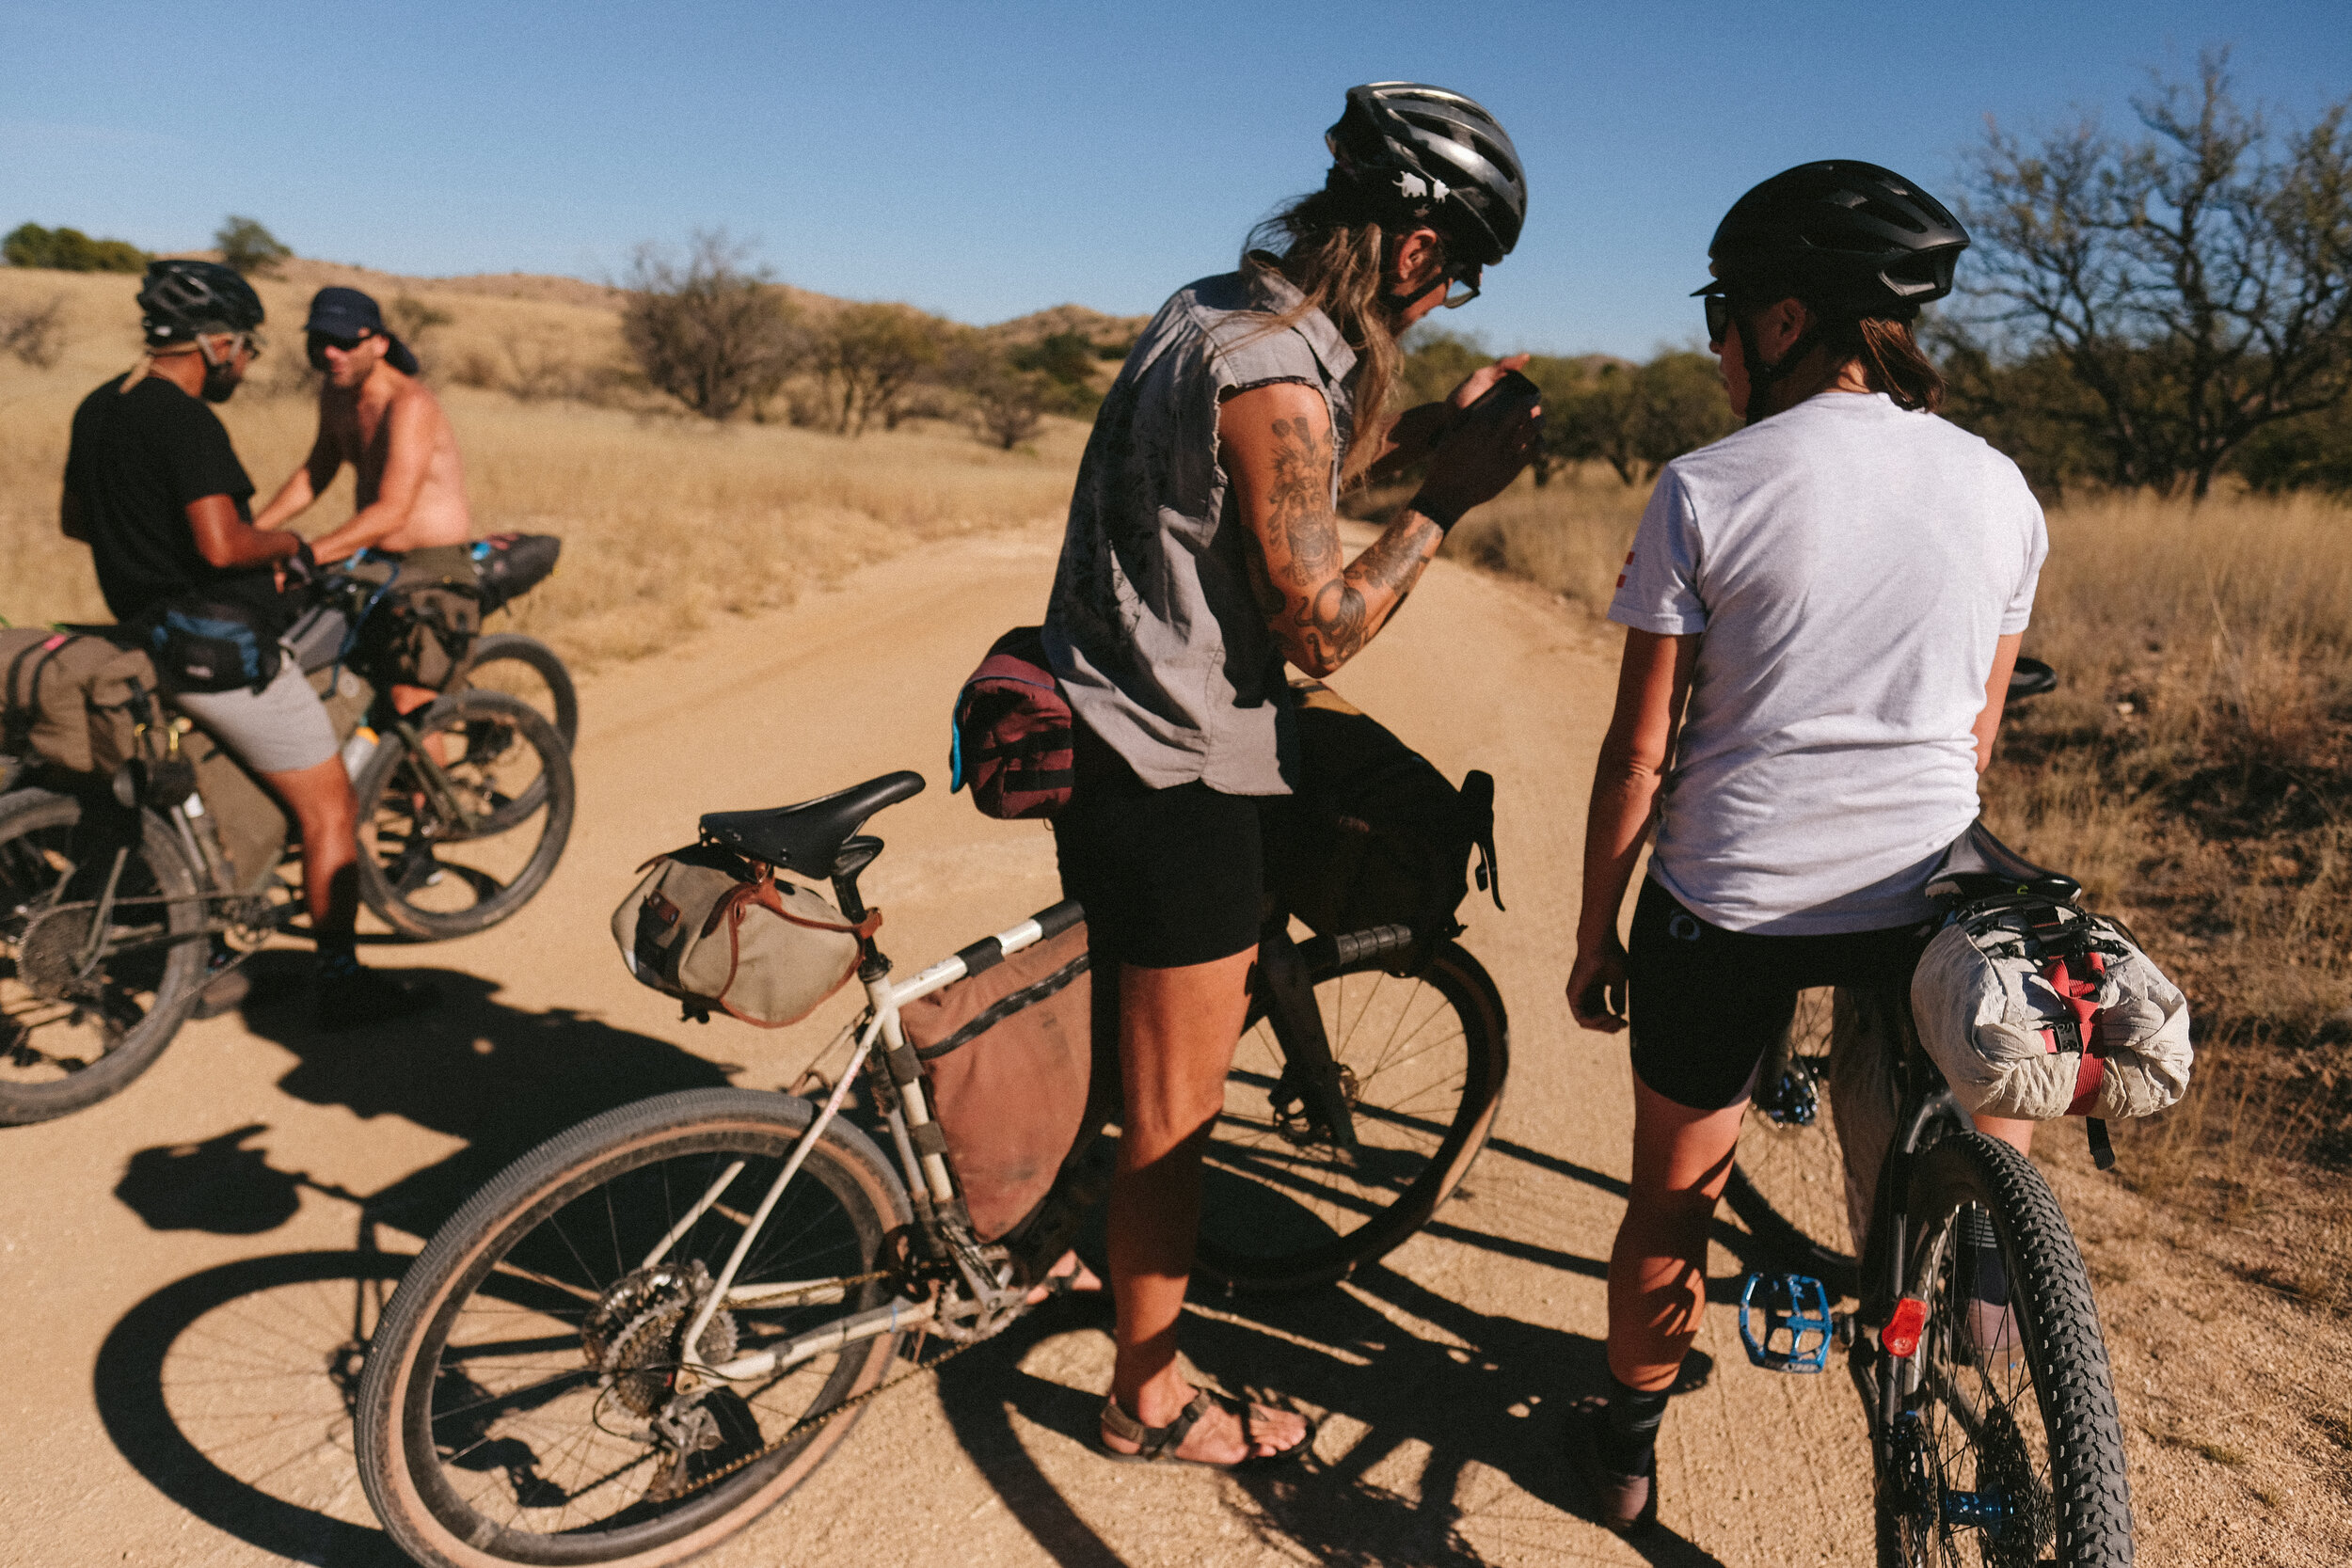
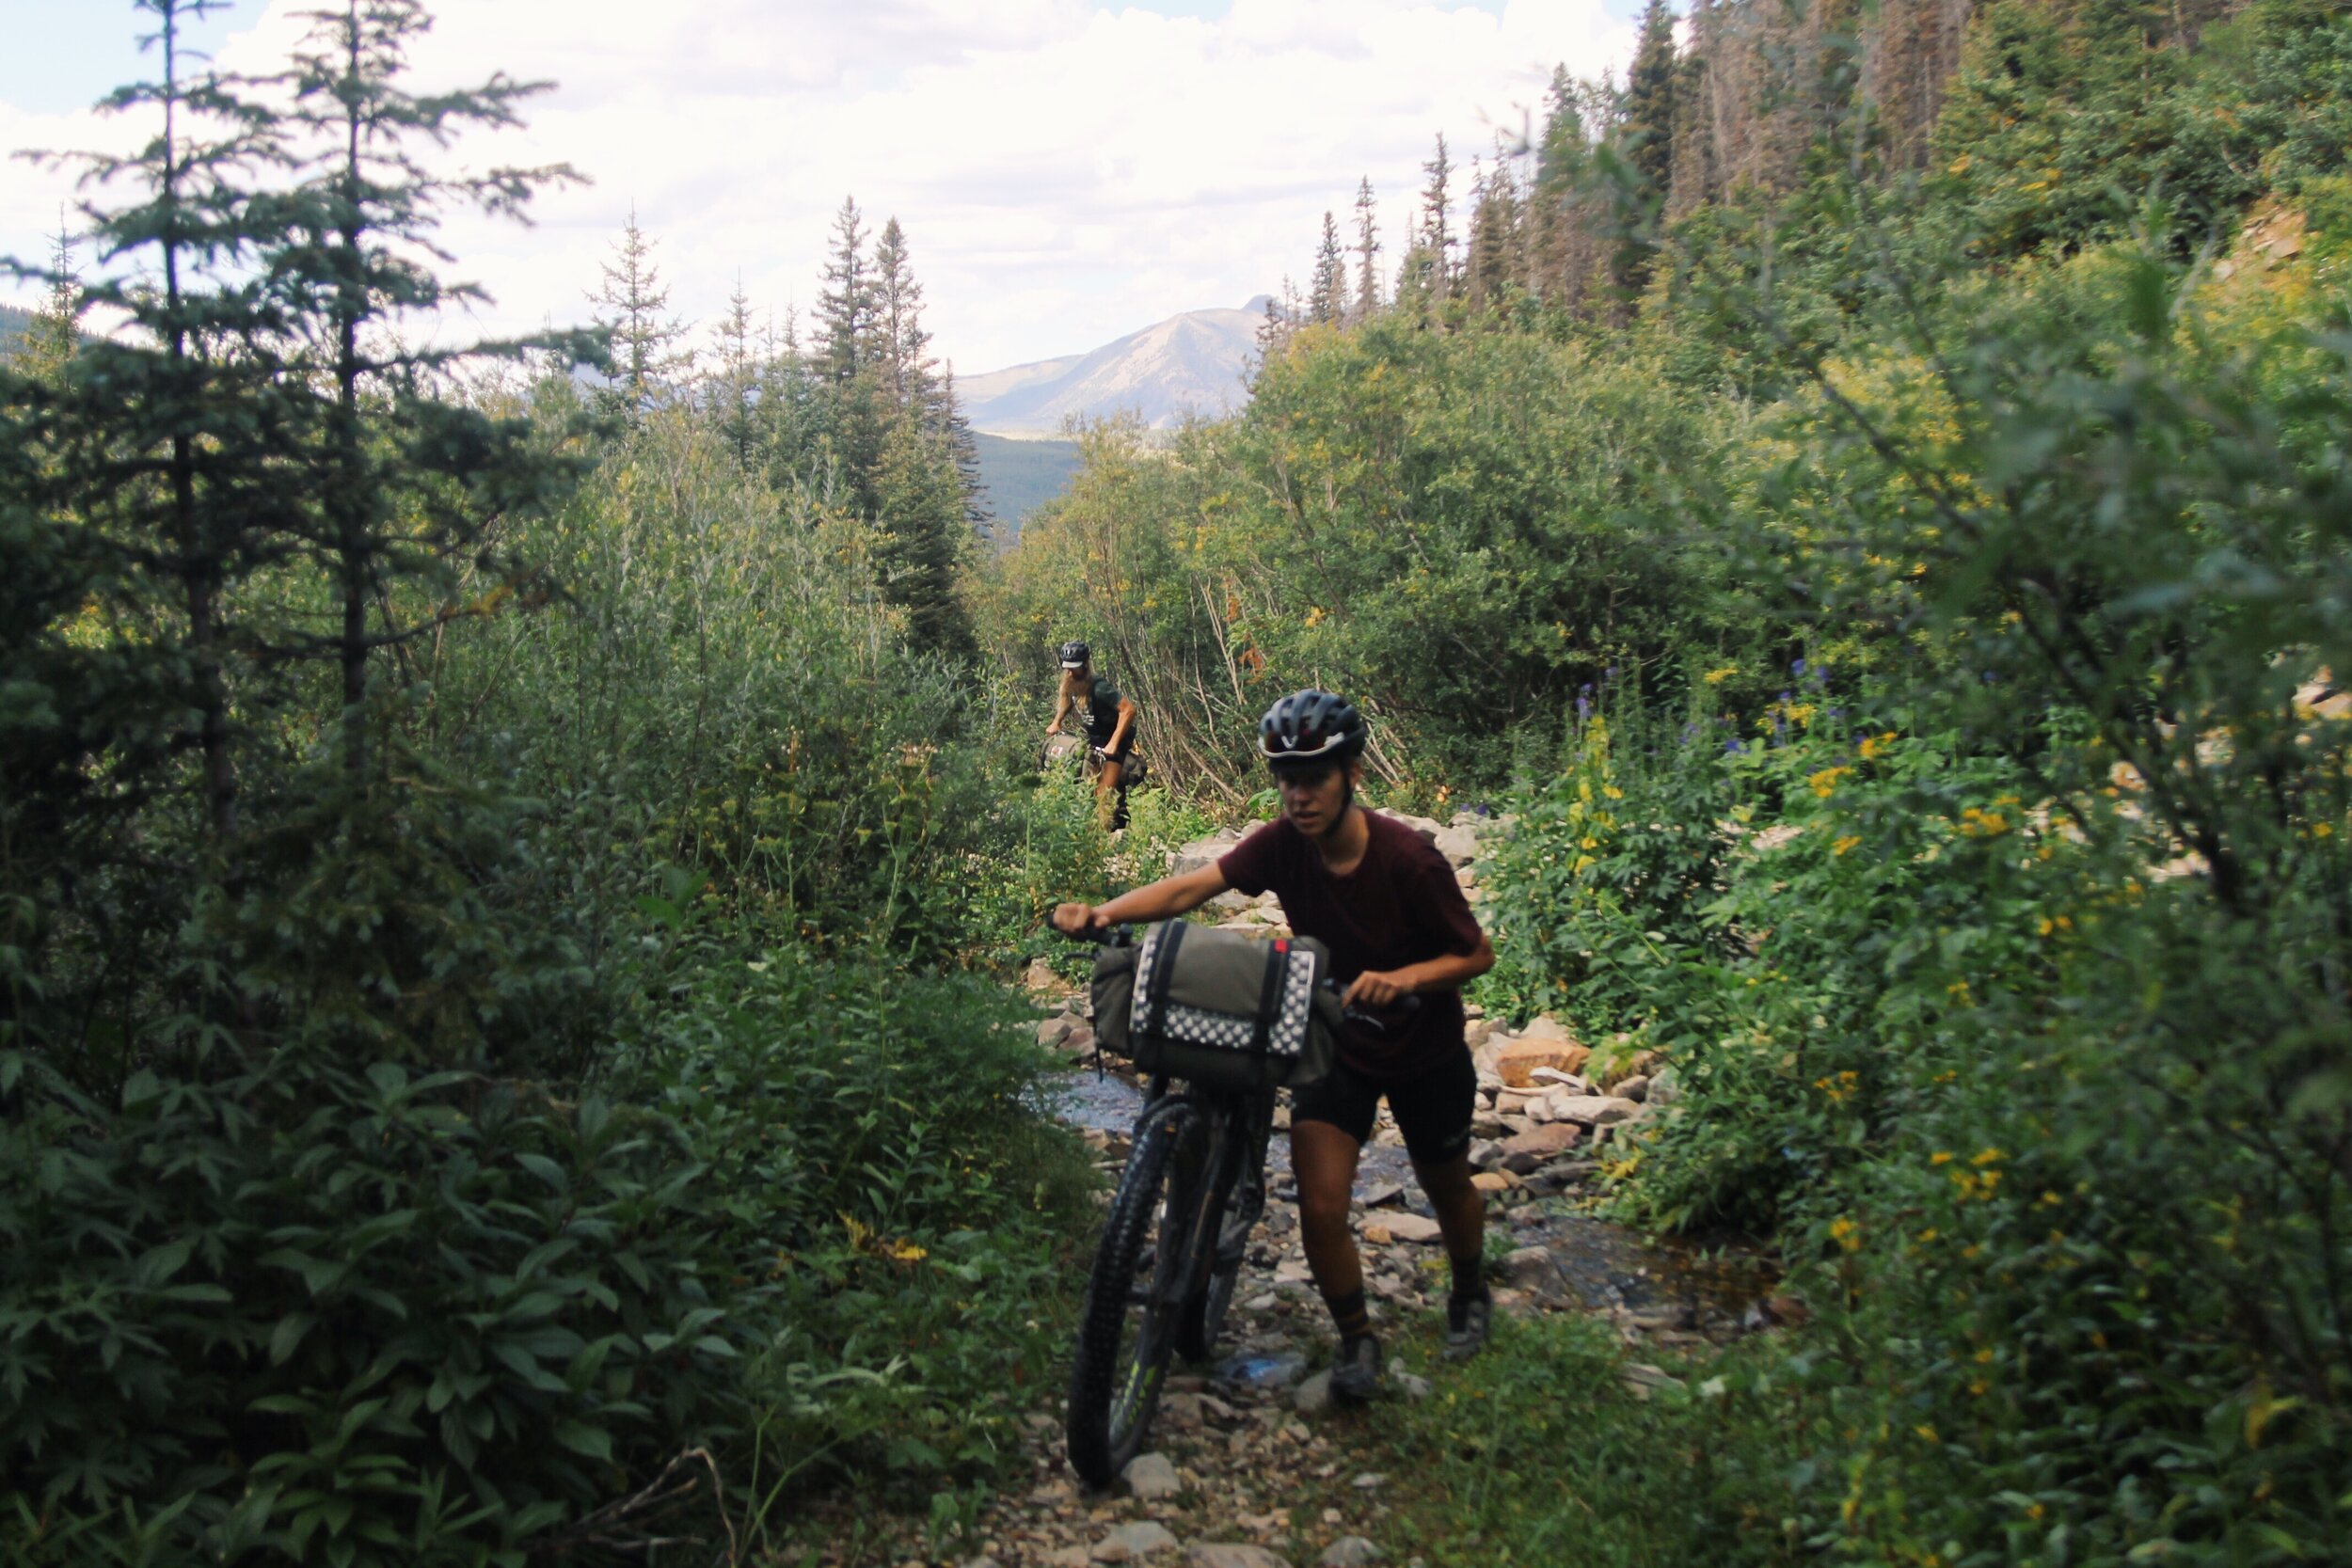
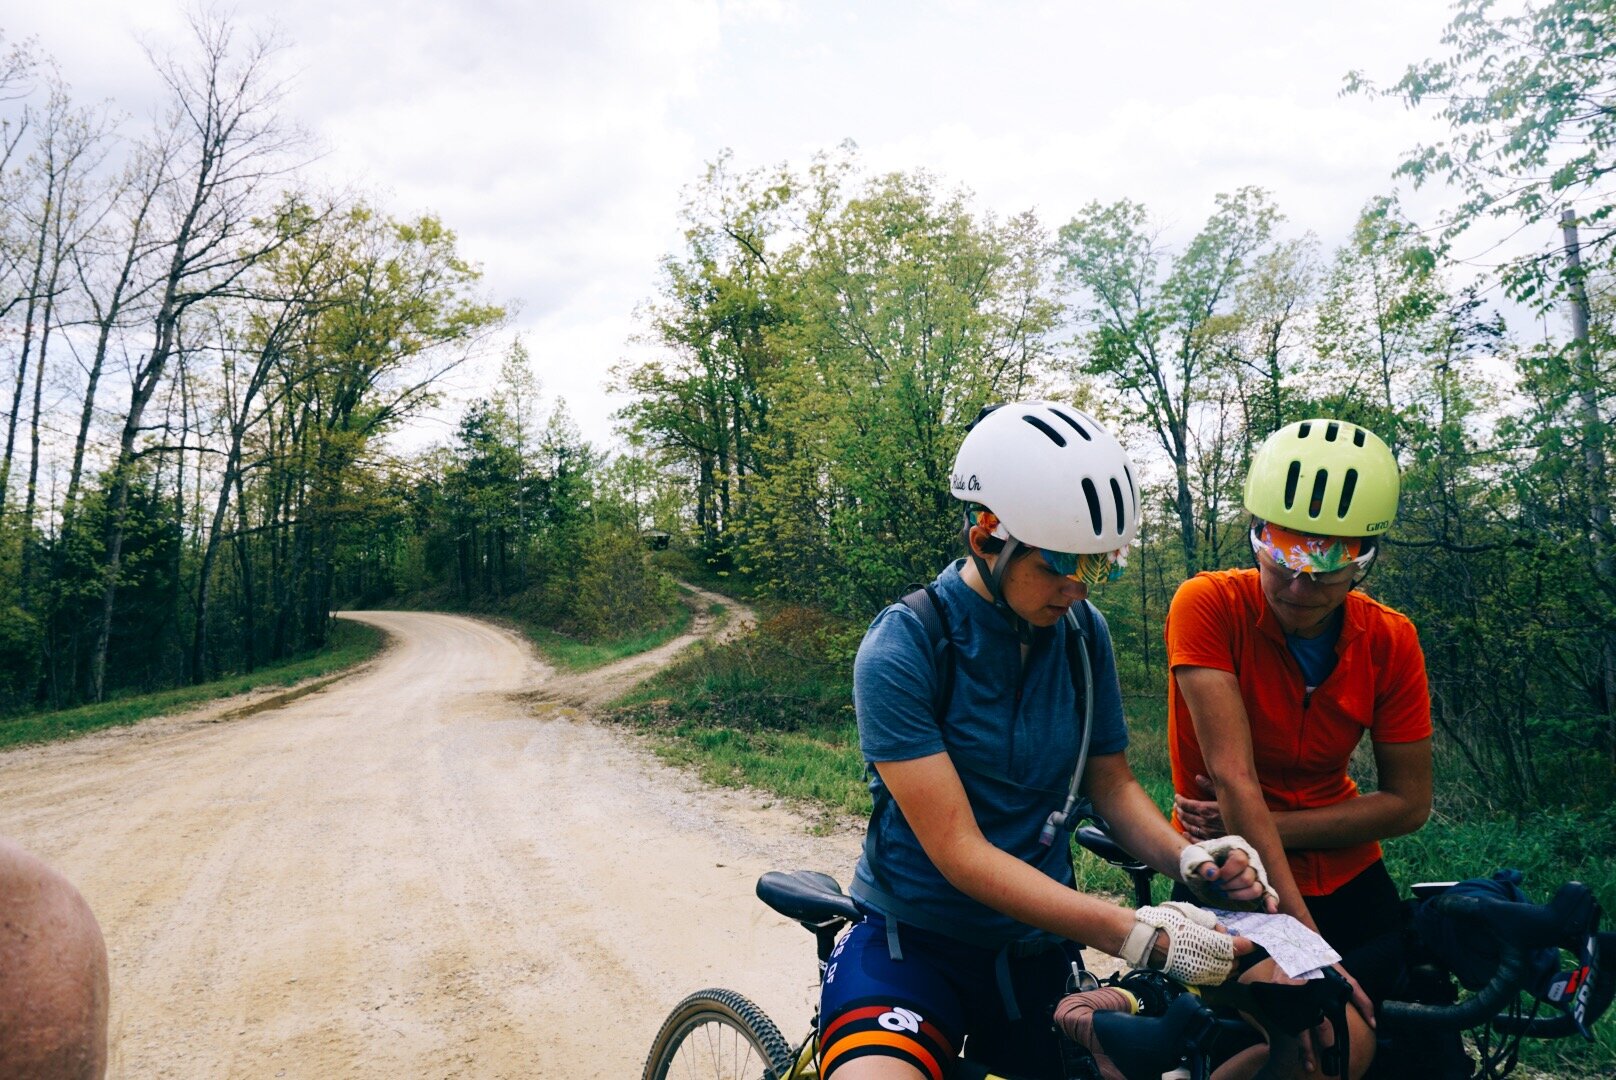
Tips for Navigating in Groups
Once you develop the skills to route and navigate for yourself, you have the opportunity to share your experience by leading group rides. In the ideal world, each person on a ride would share the responsibility of navigating - but this is rarely the case. There will always be someone in the group who does not have the route or a navigation device, so it is crucial to have a basic understanding of how to navigate in a group so everyone can feel comfortable and enjoy the ride. If you are the only one navigating in a group, it is important to share your knowledge and manage the expectations of the group through good communication. This task can also be a burden so encourage your friends to help. The tips below can be included in a 5-minute group meeting before the ride begins and will make the difference between chaos and teamwork.
In the days before the ride, share the route you have planned with everyone in your group.
Make sure your GPS device securely mounts to your handlebars and that your locationsets to ‘track up’.
Communicate the distance and elevation of the ride so that everyone in the group understands the task at hand and can collectively keep each other on schedule to complete the goal.
Make a game plan: What happens if the group splits up? Where is the meet-up location if people get separated? You can suggest to re-group at the last location everyone was together or re-grouping at a future location.
Note any areas along the route of concern, question, or any major challenges. For example; you routed a connection between two roads that might require a hike-a-bike, or there is a 10-mile climb midday with some grades that go over 16%.
Mention the mileage at which the high points and the low points occur so the group can collectively decide on where to camp or filter water.
Encourage those who are not navigating to ride behind those who are.
Use a buddy system to keep track of everyone in the group. Each person has a buddy who they are responsible for keeping track of. At each re-group ask if everyone sees their buddy.
Communicate when there is a turn coming up and regroup at each turn (not at each intersection).
Route planning and navigation can be incredible tools for making us as individuals more confident and independent on bike rides. It is my hope that this guide has empowered you to start making and leading your own rides to help connect our community through fun and safe riding spaces.
Terms
Route - A route is a plan for a ride that includes a path, an elevation profile, and points of interest.
Navigation - The process or activity of accurately ascertaining one’s position while planning and following a route.
Point of Interest (POI) - A specific point or location that someone may find useful or interesting.
Basemap - A virtual map or a .jpeg image of a specific style of the map your route that lays under your route . It could be a topo map, street map, satellite map, OSM cycling map, or a specific map you find on the web.
.gpx - The universal route file type used on most GPS devices. There are also .tcx. files (specific Garmin devices), and .kml. files (for Google maps/earth)
GPS - Global Positioning System, uses satellites to provide your longitude and latitude position on a basemap.
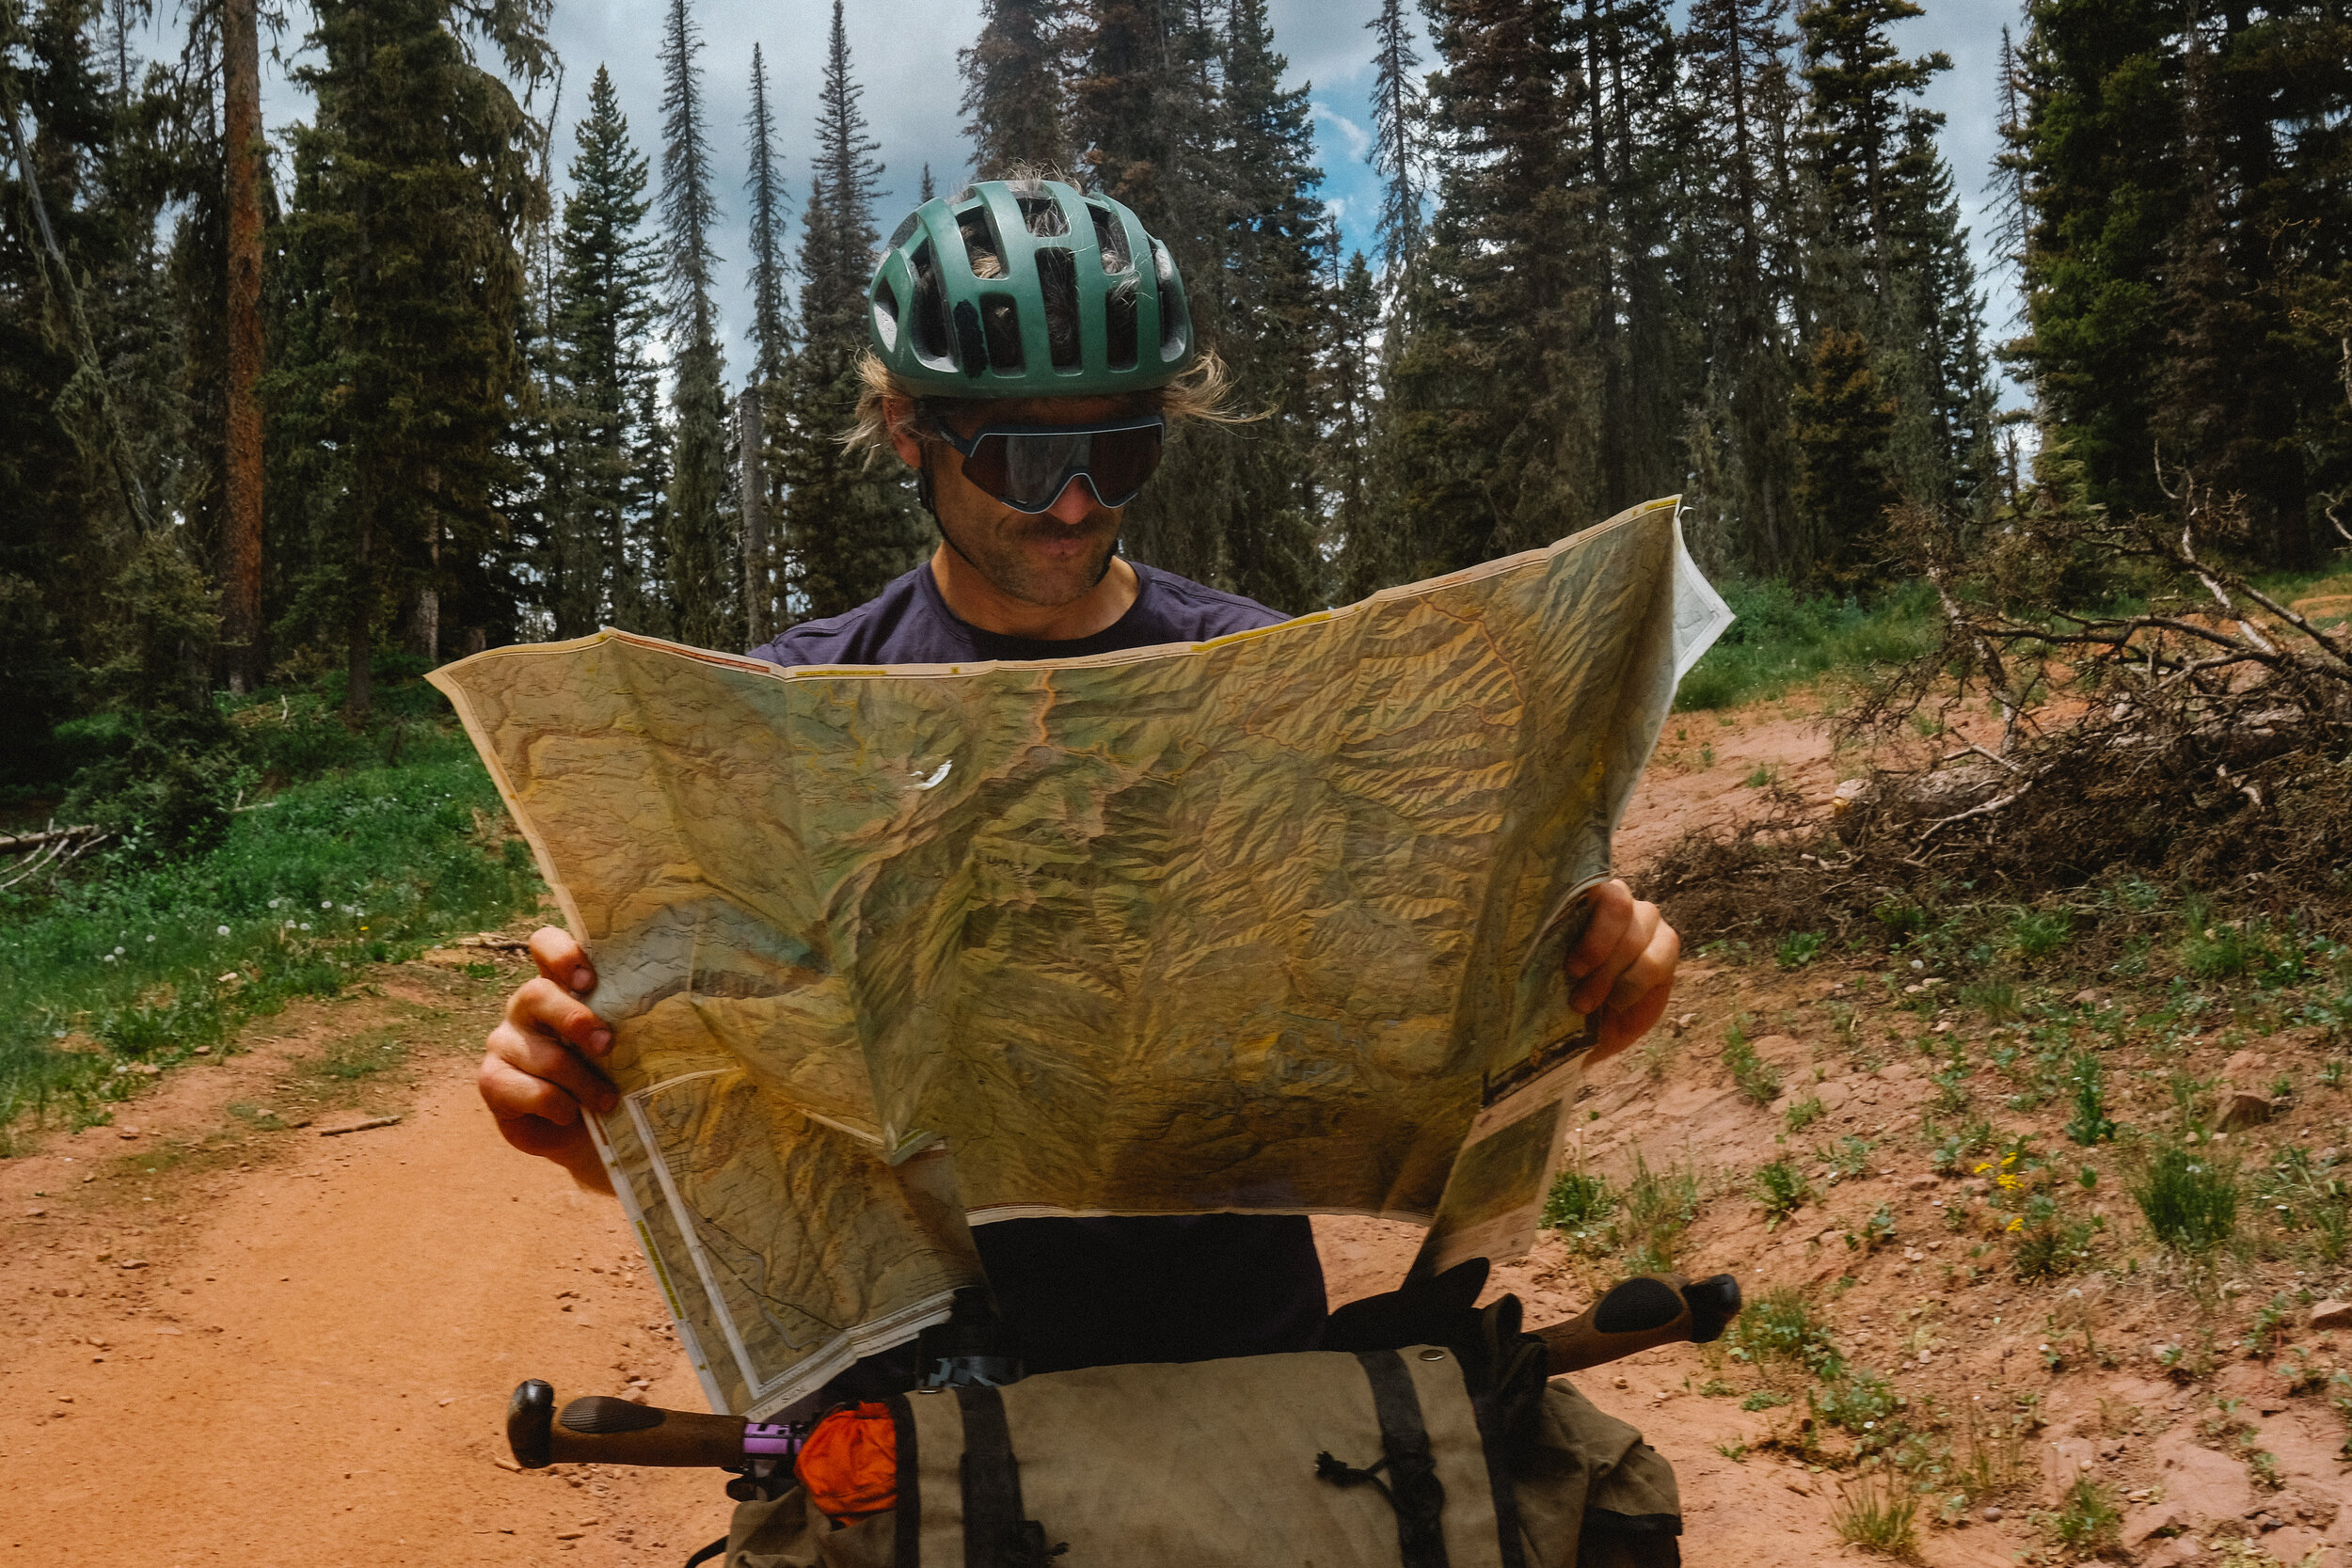
Paper Map Resources
Benchmark Maps - Detailed paper state atlas’s that show a variety of roads, including established dirt, 4 x 4 road, and some trails. Benchmark maps are also good references for campgrounds, rivers, springs, public lands, and other points of interest.
National Geographic Adventure Maps - Detailed foldable paper maps of specific regions or countries showing a variety of roads including established dirt roads, 4 x 4 trails, mountain bike trails, and hiking trails. National Geographic Adventure Maps can also show helpful points of interest like places to swim, snorkel, surf, hike, raft, and climb.
Web and App-based Resources
Ride with GPS - A web-based route making software and navigation application designed for cyclists, by cyclists. RWGPS allows its members to create detailed cycling routes on a computer, tablet, and smartphone and to download and navigate those routes offline in the backcountry. Membership: Basic $6 month for mobile navigation, Premium $10 month for advanced route making.
Gaia GPS is a smartphone application as well as a web software designed with hikers in mind but it works for cyclists too. Gaia allows users to view and download their GPS location against a variety of detailed base maps so they can be available offline. The app also allows users to upload .gpx files, make routes, and view your location on them. When used correctly, this application can replace the need to carry a paper map in the backcountry. Membership to Gaia GPS is $19.99 year for a standard membership, or $39.99 year for a premium membership with access to more basemaps and features.
Google Maps, Street View, and Earth used on the web can be great resources for researching what the terrain is like; if the roads are paved or dirt, if it is deserted or forested, and what the surrounding points of interest are. Google Maps and Earth can also be used to make routes but the process can be more challenging to use since it is car-centric. Membership for Google is free.
Avenza is the only smartphone application that allows you to purchase and download mobile versions of Benchmark Atlas Maps. The app will enable you to view your location on downloaded maps without a cell signal. The cost ranges from free to $8 per map.